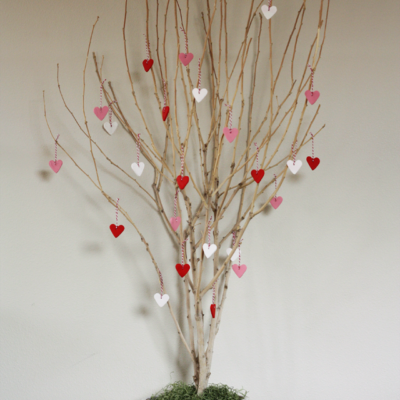
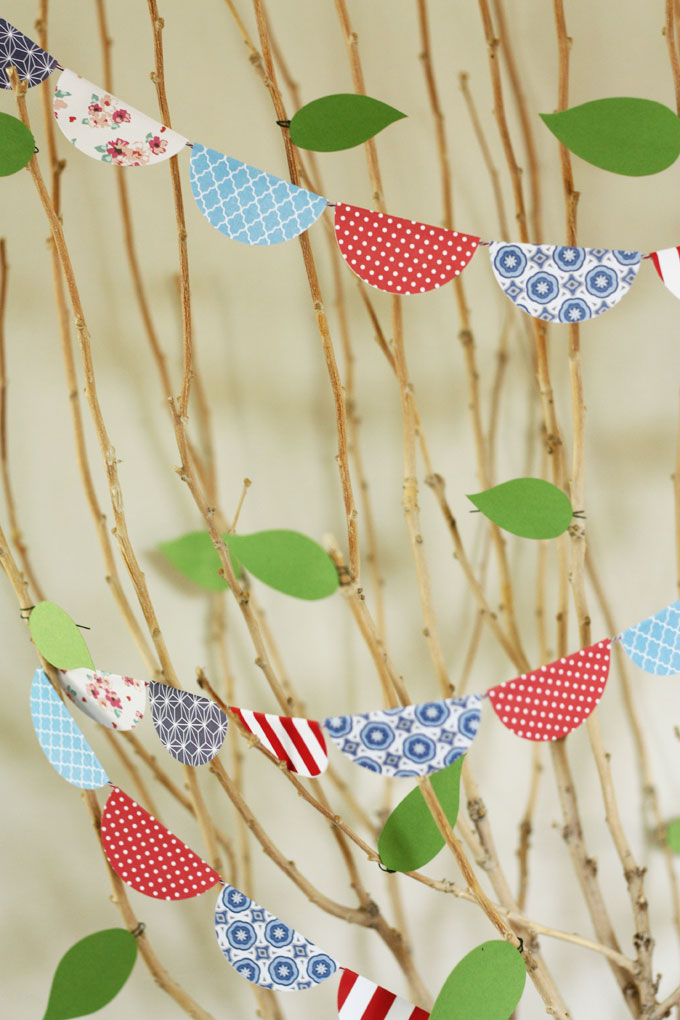
Surprise! I bet you thought I’d forgotten about the seasons tree since I haven’t posted anything about it in over three months. But every month I mean to catch up, and then I run out of time. So this Fall, while I have a little extra time, we’re going to go back and see what projects we’ve missed since June.
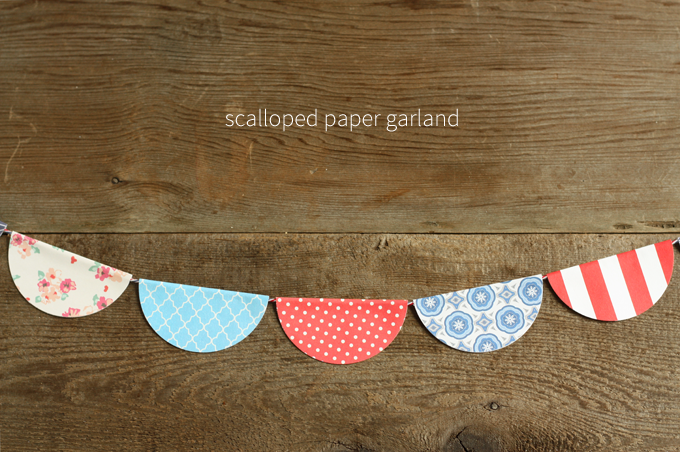
First up, this really sweet and really easy scalloped paper garland. I made it for the 4th of July, which explains the lovely red, white, and blue color palette, but it would be perfect in any color scheme. Orange and black scallops would look sweet for Halloween, pastels for Easter…you get the idea. And my scallops are only 3″ across, but you can make them bigger or smaller to suit your fancy. My little sister made some really lovely scalloped garland for her baby girl’s nursery, with scallops as big across as dinner plates.
Materials & Tools
patterned paper
a circle punch (or a pair of scissors and a big circle you can trace)
bone folder (completely optional, but fun to use)
string, twine, or ribbon
a glue stick
Steps
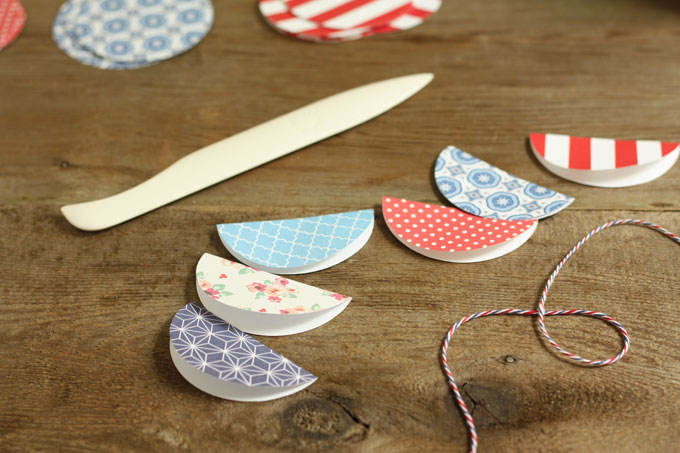
1. Punch circles out of the patterned paper. If you don’t have a circle punch, or if you’re making really big scallops, trace circles onto the paper and cut them out with scissors.
2. Fold each circle in half with the blank sides together, making a sharp crease. Bone folders are great for this, but not at all necessary.
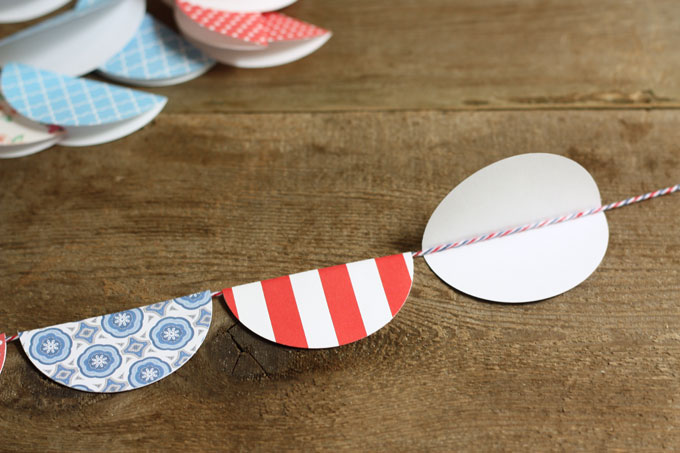
3. Spread glue on half of a circle, making sure to get glue on the crease in the middle.
4. Glue the paper circle around the string or twine with the string right in the crease.
5. Repeat with another circle. I put my circles close together but not touching, about 1/8″ apart.
6. Leave about 12 inches of string on each end of the garland for tying; trim, and hang!