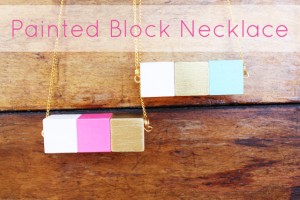
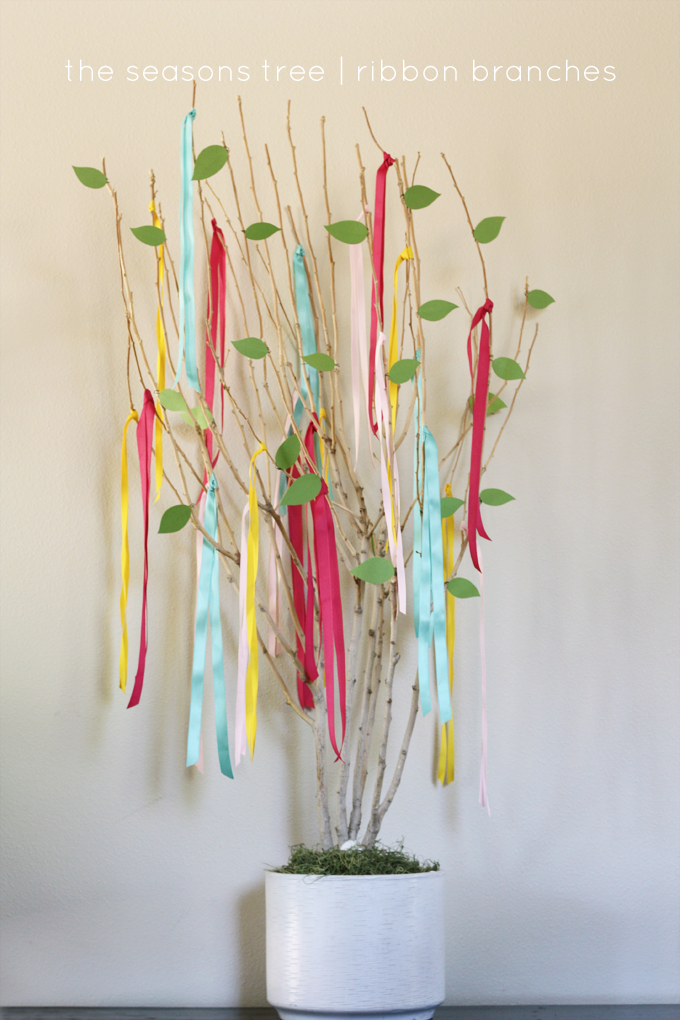
I love making accessories. I think it is big-time fun to take scraps and bits here and there and turn them into something cute that you can wear and get compliments on. And I love when people say, “Hey, where’d you get that?” and I can respond with an, “Oh, this? Well I just made that!” These necklaces started out as an idea over the summer, and I dragged my feet making them, then dragged my feet fixing them when they didn’t turn out right. And then, just to put a little extra pinch of procrastination in there, I dragged my feet photographing them and editing the photos, just for good measure!
You can really make these as big and flashy or as simple and understated as you like. You can use whatever colors of paint you like. You can use big, chunky chain or thin, delicate chain. I love projects that you can customize to suit your taste!
Materials and Tools
3 small wood blocks, 3/4″ each
2 lengths of gold chain, about 9 inches each
6 inches thick gold wire (mine was 20 gauge)
4 gold jump rings
1 gold lobster clasp
craft paint or spray paint
clear acrylic spray
black marker
adjustable wrench
drill and small drill bit
thick piece of scrap wood
paint brush
at least 1 bamboo skewer
a tall, skinny cup or container
at least 1 pair of jewelry pliers
wire snips
craft glue (optional)
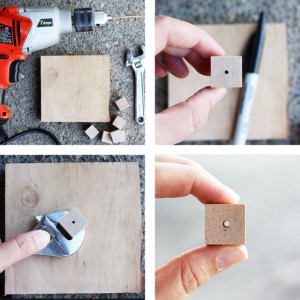
1. Use the black marker to draw a dot right in the center of one side of your first block. Grip it firmly with the adjustable wrench, and rest it on the thick piece of scrap wood. Use the drill fitted with the drill bit to make a hole all the way through the middle of the block. Go relatively slowly and check your alignment as you drill to make sure you aren’t heading off in a weird direction! Repeat with remaining blocks.
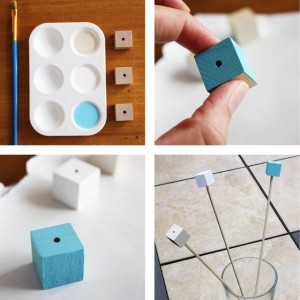
2. Carefully paint the blocks your desired colors. Spray paint works perfectly, especially for metallic paint, but craft paint is A-OK too! Allow the blocks to dry completely. Spray blocks with clear acrylic spray and allow to dry again. Any time you’re using spray paint, it helps to jam the blocks onto bamboo skewers first–that way you can spray all 6 sides of each block at once!
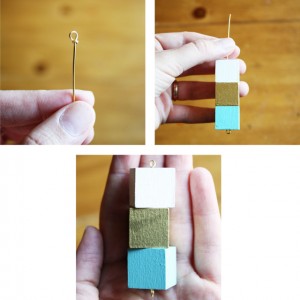
3. Using the wire snips, cut a piece of wire about 6″ long. Use the jewelry pliers to make a closed loop at one end of the wire (I wrapped mine once at the end). For directions on how to do this, click
HERE. Thread the painted blocks onto the wire in the order you want them, then make another closed loop at the open end. It will be slightly harder this time to make a loop because you’ve got blocks in the way, but never fear, you can do it!
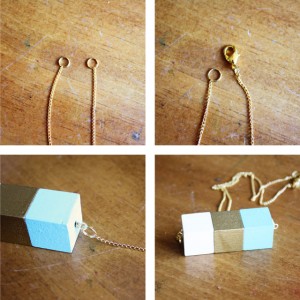
4. Attach a gold jump ring to each end of both pieces of gold chain. Add the lobster clasp to one of the ends. Using the jump rings, attach a piece of gold chain to each end of the block-and-wire combo.
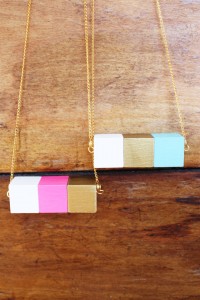
All done!!
Except…I didn’t like how my blocks were constantly spinning and being at odd angles with each other, so I put a little craft glue in between the blocks and pinched them together until the glue was dry.
Here’s a quick primer on jewelry making and jump rings. There are 3 kinds of jump rings: closed, open, and split. Closed jump rings are completely soldered shut, and I never use them. Honestly, I can only think of 1 or 2 situations where they are good for anything! Open jump rings can be pried open with pliers and then closed again after you’ve hooked things together. They’re my jump ring of choice, BUT they really work best in heavy gauges so that they don’t pop open, which means you can’t use them with thin chain. In order to use an open jump ring with a thin chain, you’d have to use a really thin gauge, and they just aren’t very secure. Split jump rings are basically little keychains. They wrap around a couple of times for stability. I don’t usually like them because I don’t think they look nice as open jump rings, BUT they can be thin enough to use with delicate chains and still offer lots of stability–there’s no little gap in the ring for your necklace or charm or whatever to accidentally slip out of! So that’s what I used on my necklace. I know you were just dying to know all of that!


Wow!! Really cute
ohhh love this!
this is SO CUTE!
Oh, how lovely! This is a wonderful project. I am such a sucker for turning blocks and other wooden odds and ends into jewelry!
Thanks Mandy! I love how you can use a few materials to turn simple things into really cute accessories!
I made this with some kids foam counting block that I got at Dollar tree. I also made a pink block ring & mixmatch gold & white block earrings. I love them. Thank you so much for the idea.
You’re welcome, Shkela! I bet they look fab!
I LOVE this! Where did you get the blocks?
Hi! The blocks came from the bare wood aisle at Michael’s. They were in bags of 4 or something.
Nice idea! 🙂
xoxo
p-and-p-style.blogspot.com – Check this DIY-Fashion blog out!