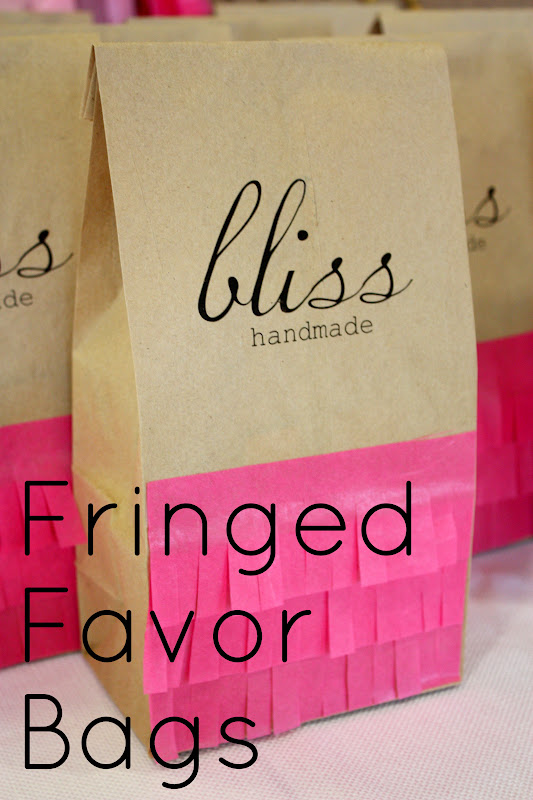
On Cinco de Mayo, I helped host a semi-annual handmade boutique featuring over 2 dozen local crafters and artists. It was a fun, crazy, hectic day filled with cupcakes, handmade crafts, and lots and lots of hot pink tissue paper. One of the fun things I got to be in charge of was the goodie bags we gave away throughout the day. I’ve gone a little overboard with them in the past, so this time I decided to keep it simple and chic. These flirty little favor bags are a snap to put together and cost almost nothing to make!
Materials: paper lunch bags*, double-stick tape, colored tissue paper, rotary cutter, self-healing cutting mat, ruler**
* I have been wanting to buy a stamp with our boutique logo for a while, but we never have money in the budget for it. So I fed these through my printer! In my now-expert opinion, it works better if you print the bags upside down, feeding the closed end of the bag into the printer. And I printed at least twice as many as I needed and chose the best.
** You don’t need any fancy crafting equipment to make these. You can use scissors instead of a rotary cutter–it will just take a little longer!

1 & 2. Lay out one sheet of tissue paper on the cutting mat. Using the rotary cutter and ruler, cut several 2-inch strips of tissue. When you have lots of strips, stack them up as evenly as possible on the cutting mat and cut them to the same width as your paper bags. I wouldn’t advise cutting more than one sheet of tissue at a time when making the 2-inch strips because you have to cut pretty long strips and the tissue will want to shift a lot. However, when you are cutting them to the proper width, the shifting will be negligible, so stack up all of your strips and cut them at the same time. My bags were a little over 5″ wide, so I ended up with a bunch of 2x5ish” strips of pink tissue.
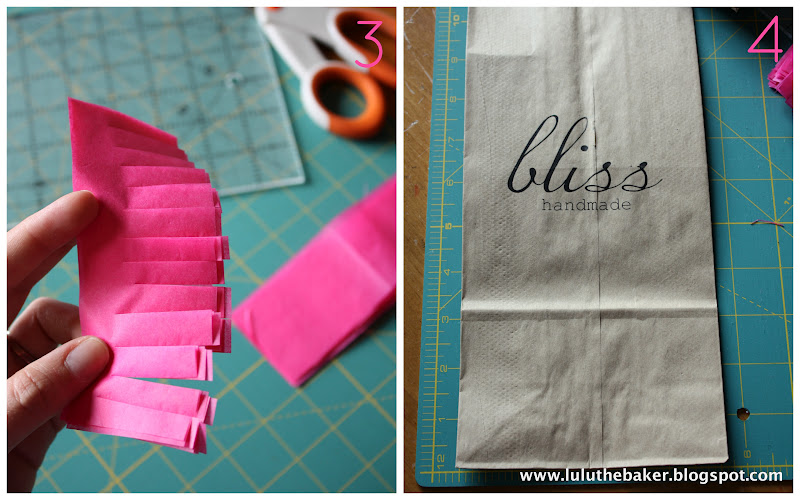
3. Take a small stack of tissue strips and start fringing them. When finished, separate all of the different tissue strips.
4. Lay a bag out on your cutting mat or next to a ruler.
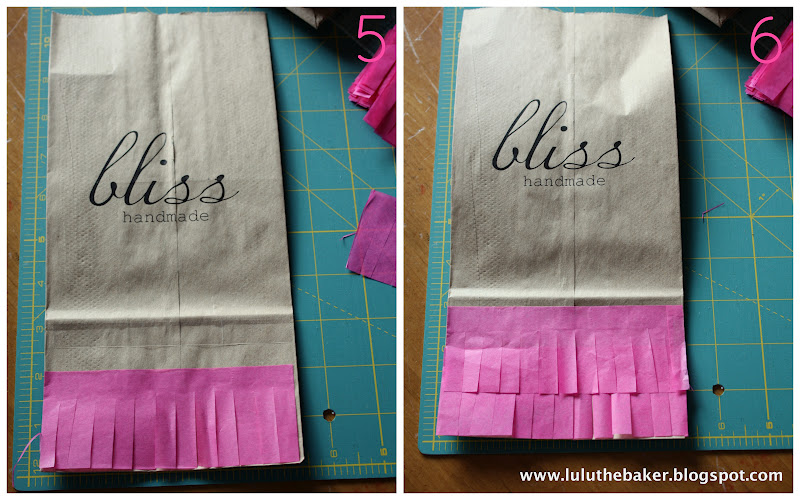
5. Tear off a piece of double-stick tape that is the same width as your tissue strips and bags. Lay it across the bag 2 inches from the bottom, and lay 1 tissue strip on top of it.
6. Tear off another strip of tape and place it 1 inch above the first tissue strip, or 3 inches from the bottom of the bag. Lay 1 tissue strip on top of it. The tissue strip you just added should overlap the first one by an inch.
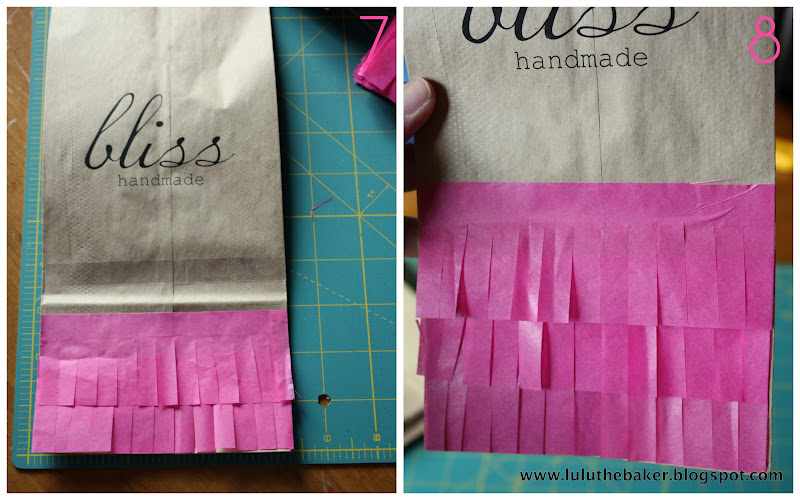
7. Tear off another piece of tape and place it 1 inch above the second tissue strip, or 4 inches from the bottom of the bag.
8. Lay a tissue strip on top of the tape. You can keep going up as far as you want at this point. Just remember to add tape and tissue strips at 1 inch intervals.
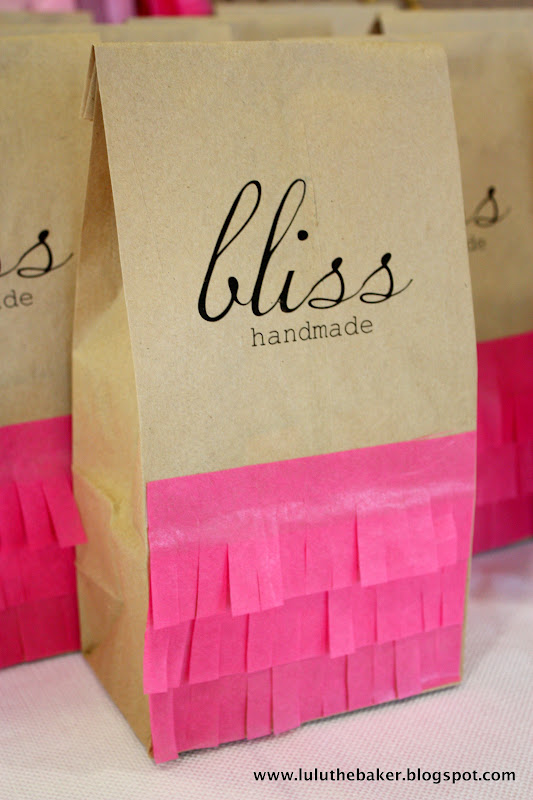
Fill your bags with fabulous goodies, fold the top down an inch or so, and stick shut with a label, sticker, fancy tape, etc!
Love this idea!! So easy!! Thanks!! =)