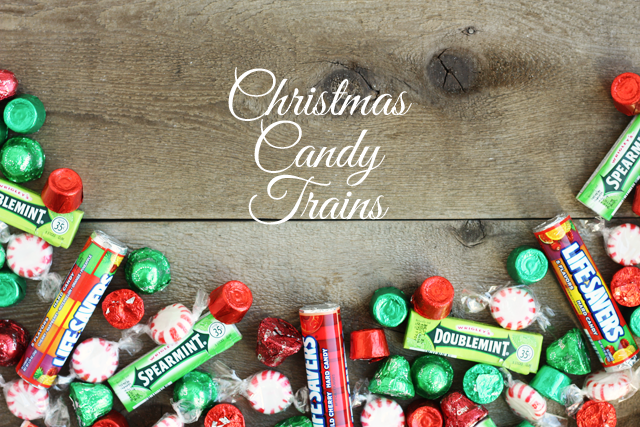
Christmas candy trains were all the rage when I was growing up. I remember making them every year to give as party favors or teacher gifts, to attach to the top of a present or hang on the tree. They’re so easy and so cute. And best of all, when Christmas is over, you don’t have to pack them up in a box and store them in garage. You just get to eat them!
The materials for these Christmas candy trains are getting a little harder to find each year, which I think is really sad! Luckily, they sell “vintage” tins of Lifesavers and gum (the old kind that comes in sticks!) around the holidays, so you shouldn’t have too much trouble finding them.
DIY Christmas Candy Trains
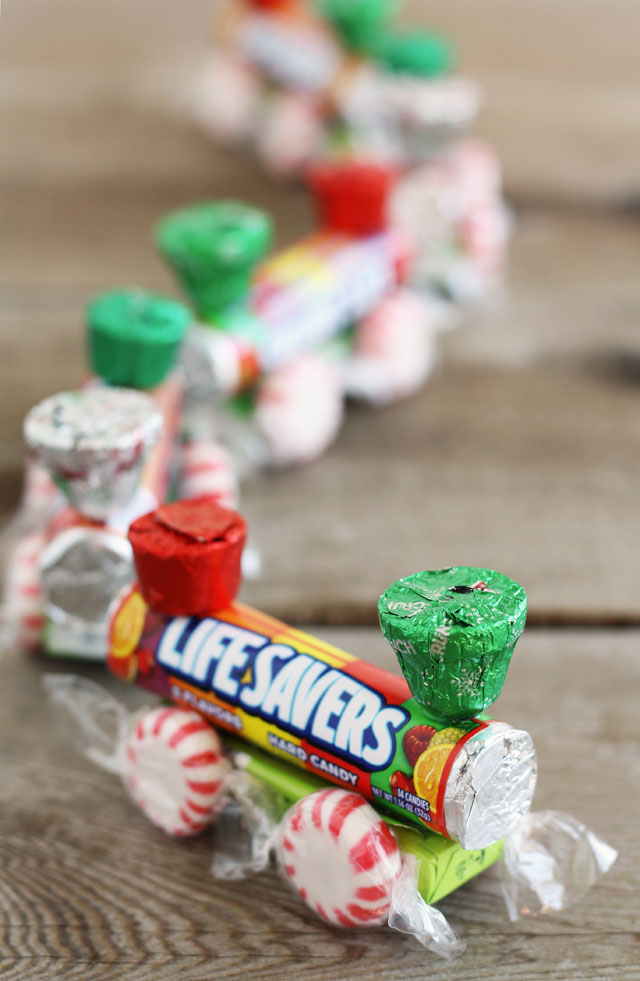
Christmas Candy Trains are a fun, easy project for the holidays! They look cute on the tree, as a gift topper, or as a present all on their own.
Materials
- rolls of Lifesavers (1 per train)
- packs of gum (1 per train)
- Starlight Mints (4 per train)
- individually-wrapped Rolos (1 per train)
- bell-shaped chocolates--Butterfingers and Nestles Crunches both come in bells (1 per train)
- hot glue sticks
- thin ribbon or twine, optional
Tools
- hot glue gun*
Instructions
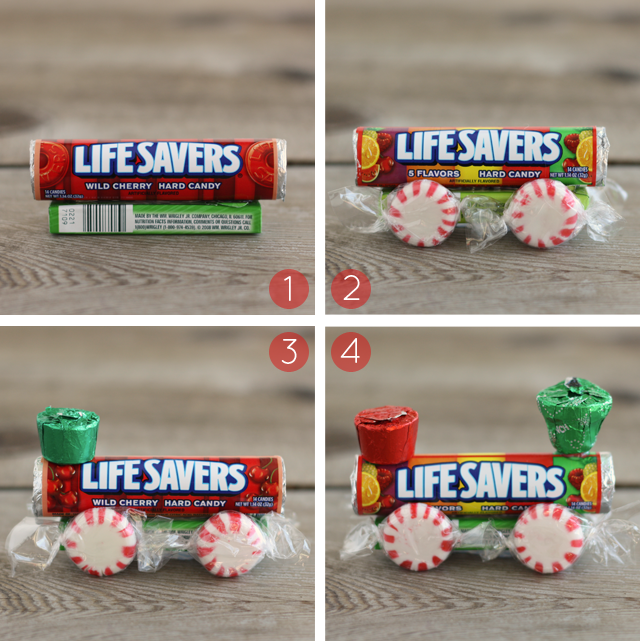
- Hot glue a Lifesaver roll to a pack of gum.
- Hot glue 4 Starlight Mints to the pack of gum to make wheels, as pictured above.
- Glue the Rolo upside-down to the top of one end of the roll of Lifesavers, as pictured.
- Glue the chocolate bell upside-down to the opposite end of the roll of Lifesavers, as pictured.
- If you want to hang your Christmas candy trains on the tree (or attach them to presents), hot glue a small loop of ribbon onto the top of each candy train right between the Rolo and the bell to make them ornaments.
Notes
*If you want to make this a kid-friendly project, just use large glue dots instead of the hot glue gun!

Adorable!
I’ve loved making these over the years. I add a small Reese’s candy on the end of the first lifesaver roll as a “headlight”. Also attach to narrow piece of cardboard for easy transport.
These two ideas are great! We always attached a ribbon to the top for carrying, but the cardboard sounds more secure. 😉