**This post contains affiliate links. You can read more about them on our policies page.**
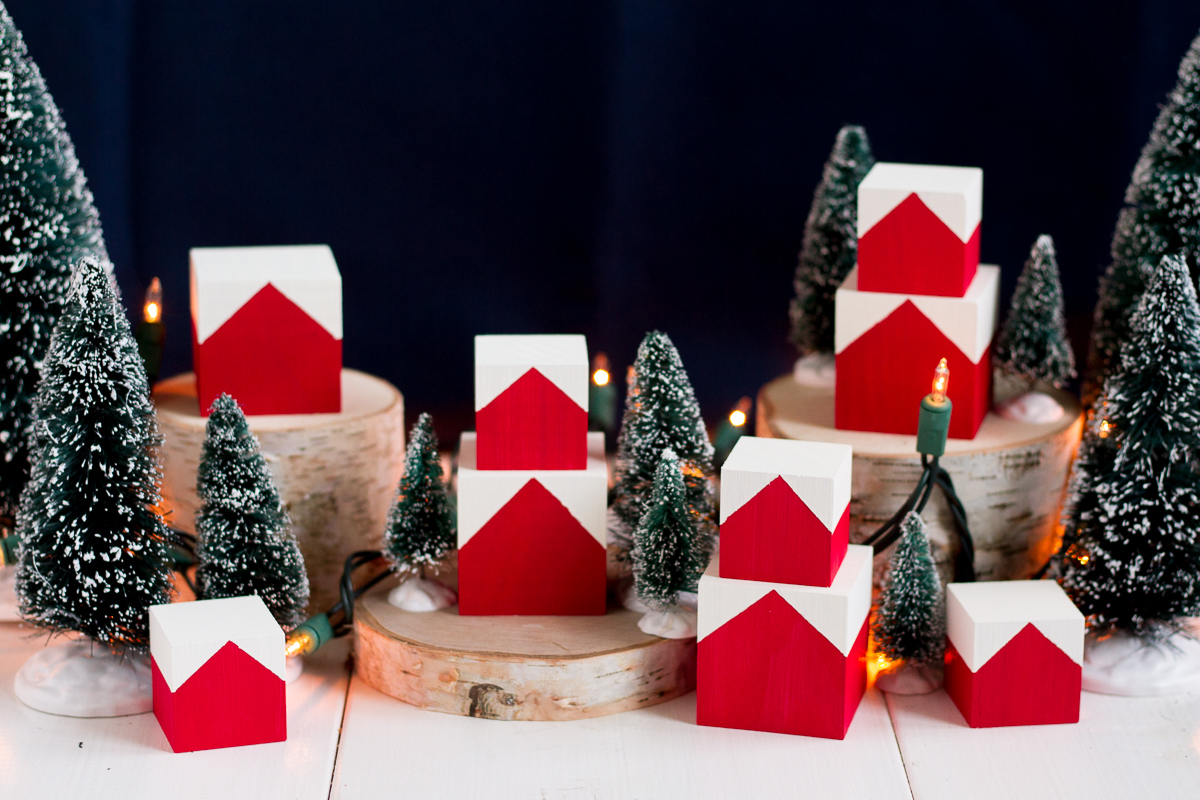
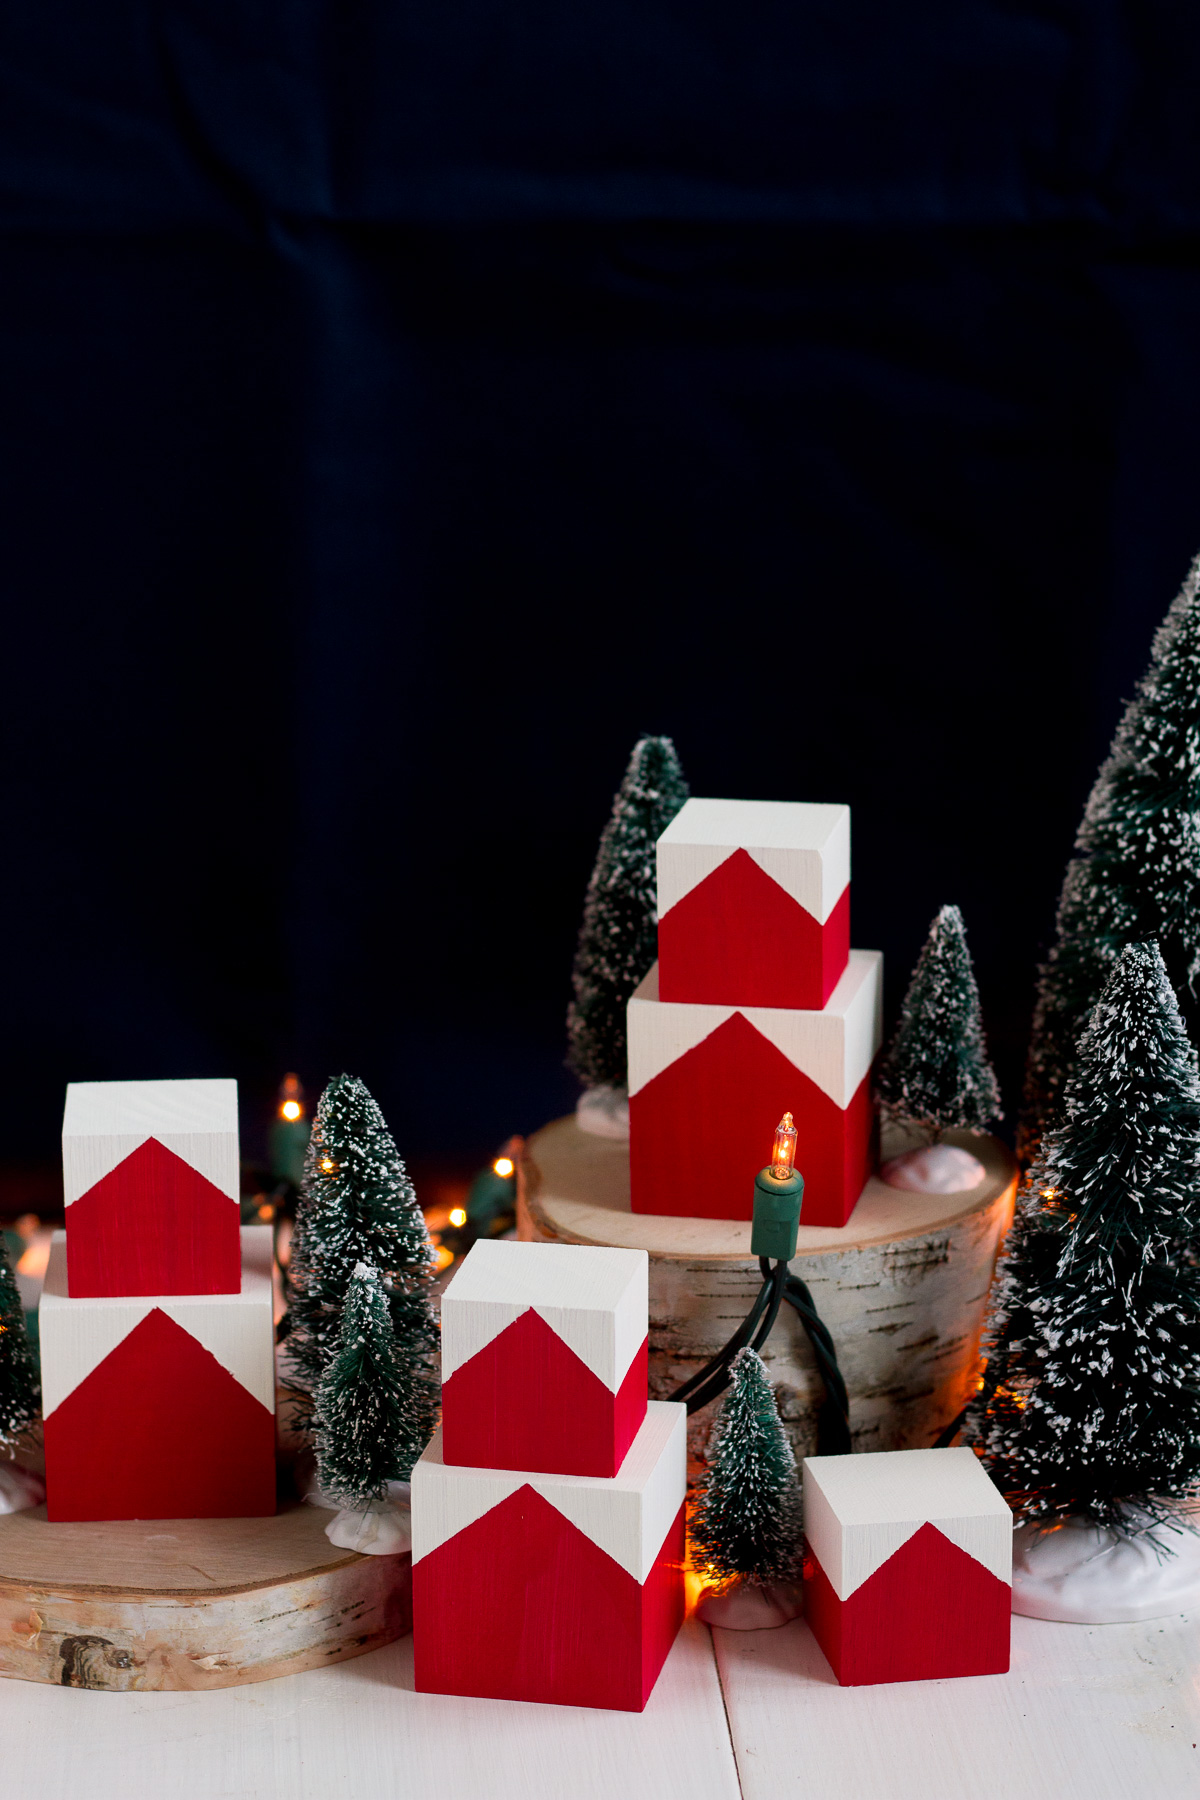
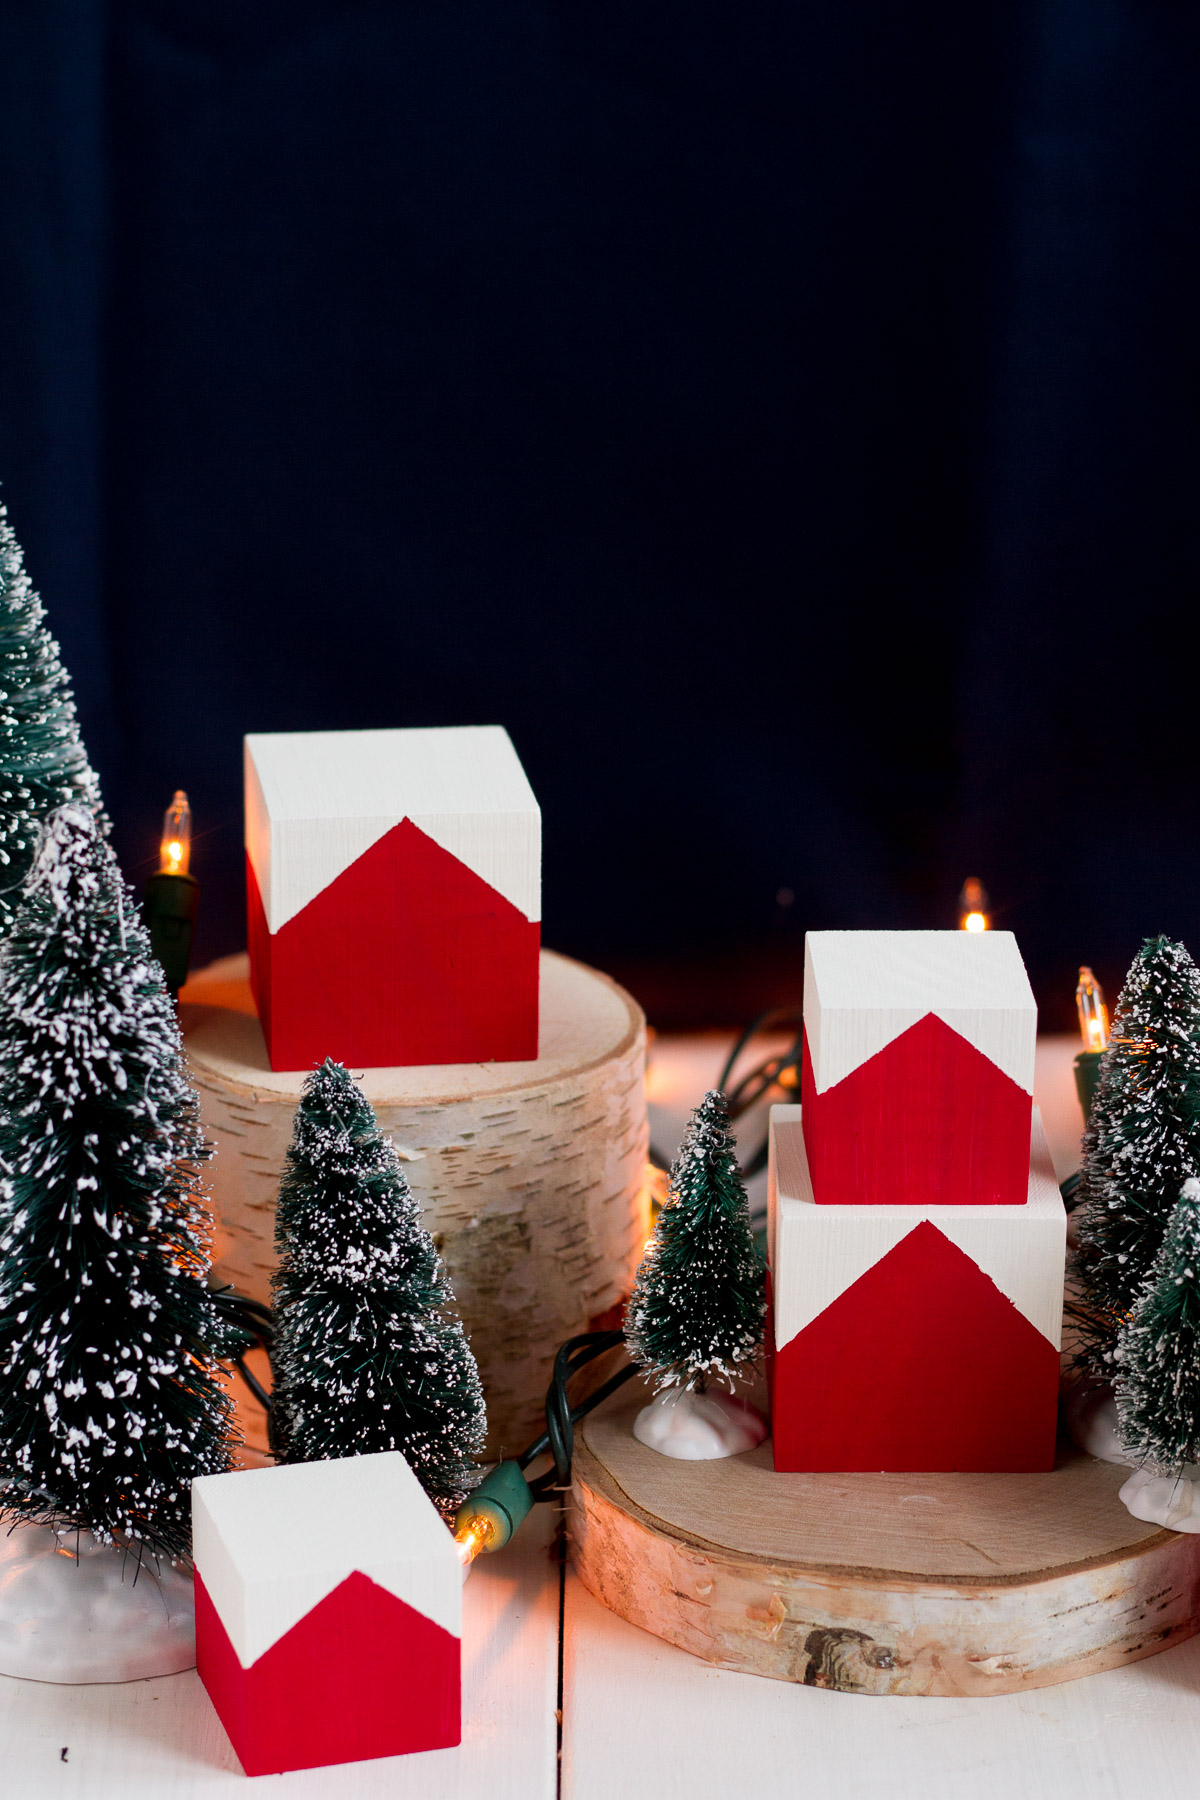
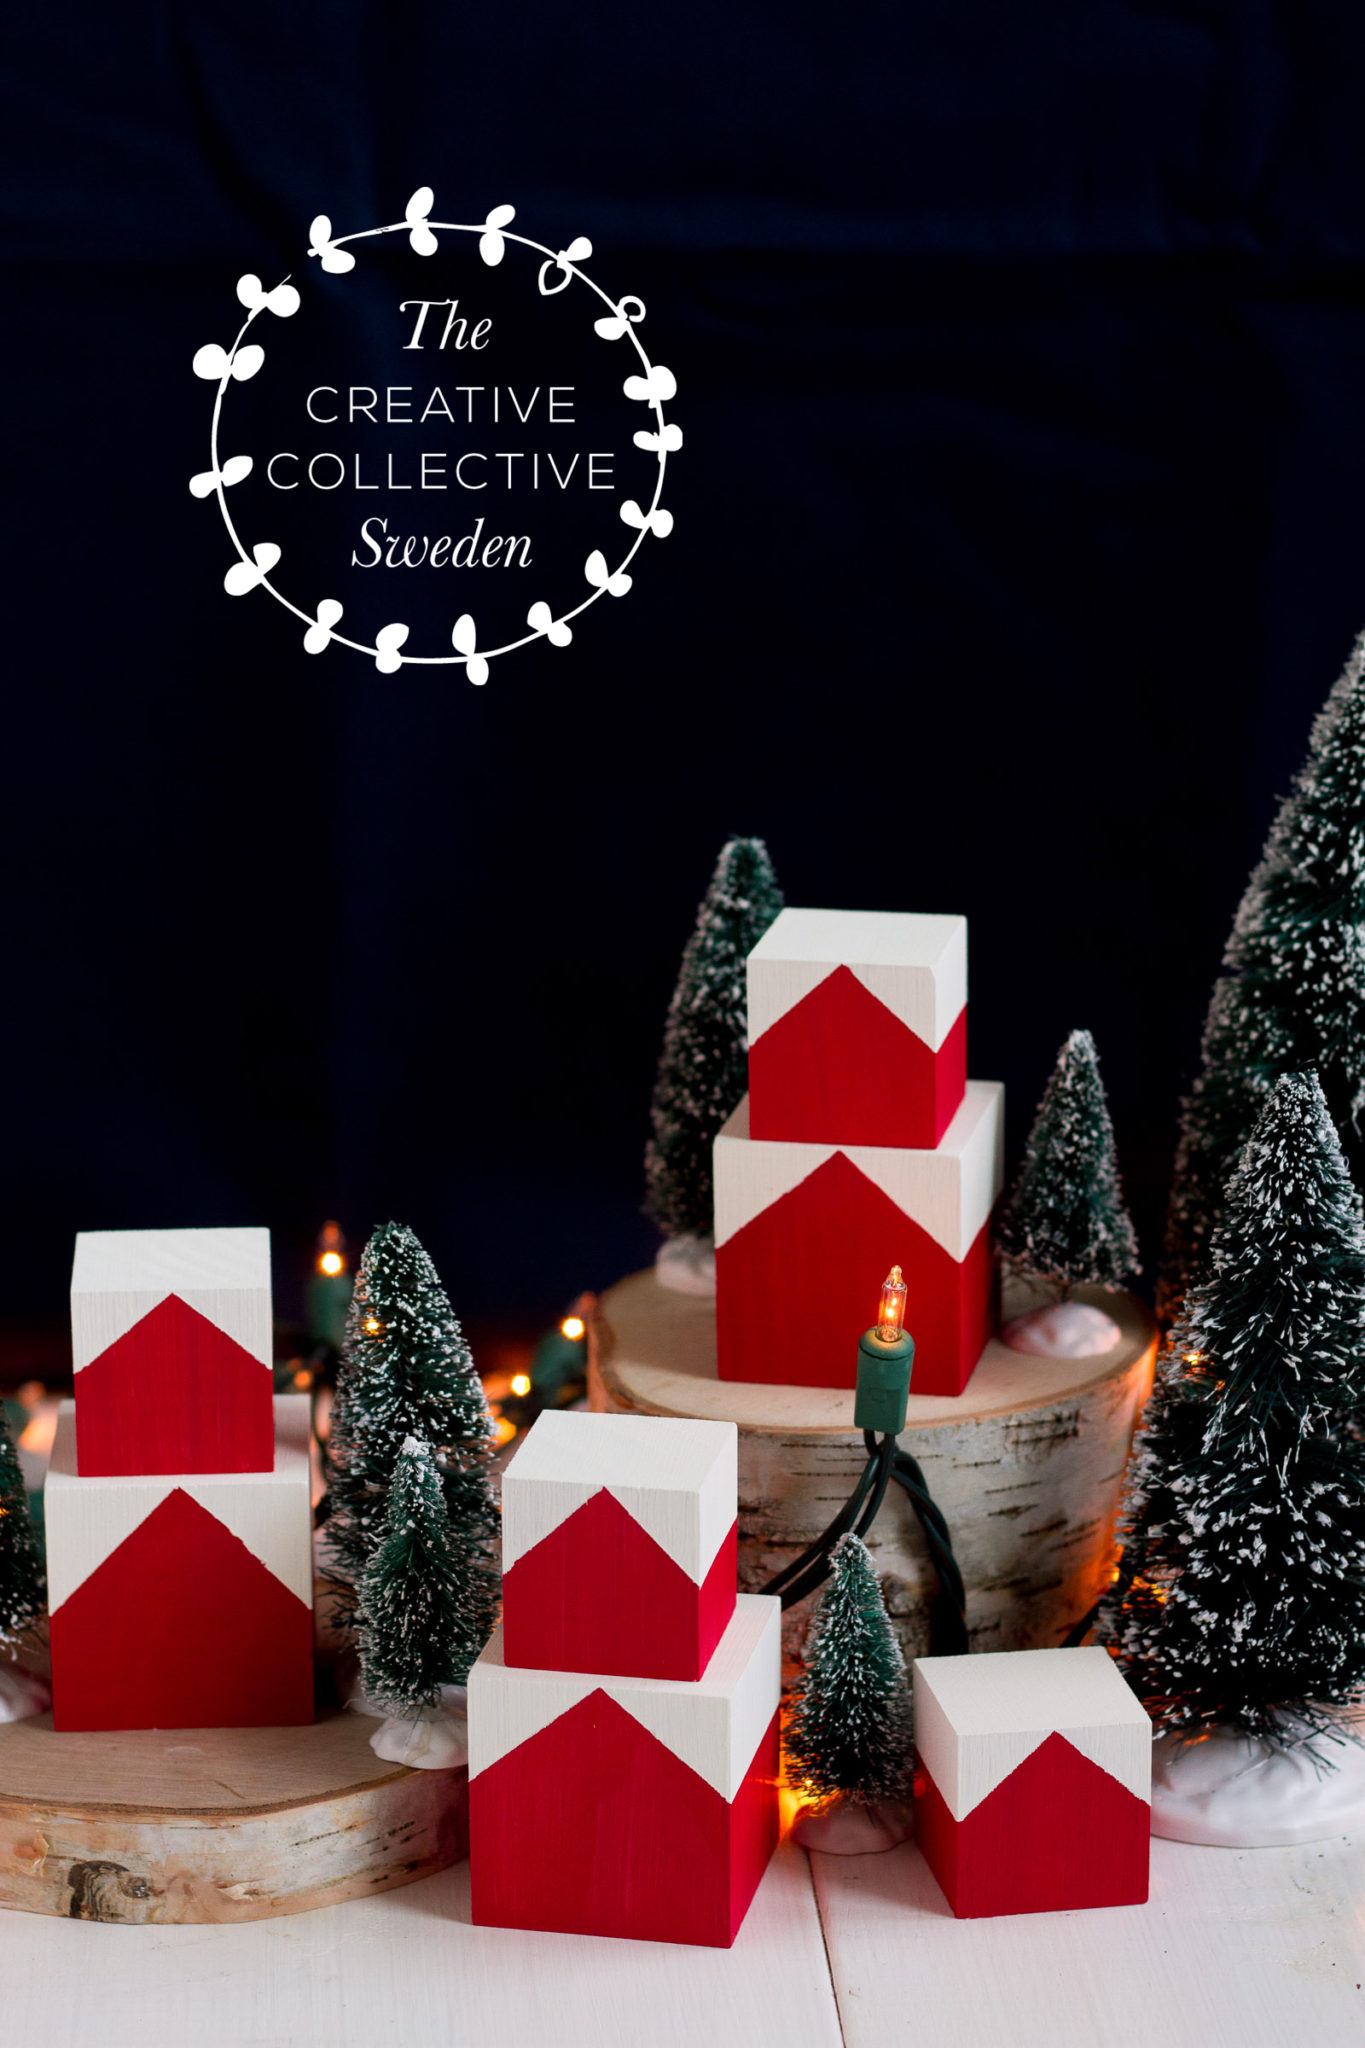
I’m so excited and honored to be participating in The Creative Collective Calendar this year. I love looking at the gorgeous, Scandinavian-inspired projects that have been posted so far on my friend Gina’s blog, Willowday, both this year and in previous holiday seasons. Each year, 24 bloggers create projects and recipes for the holiday season, using Scandinavian creativity as their theme. And today is my day! My project is inspired by a trip I took to Scandinavia in college. My grandparents were living in Sweden at the time, at my whole family took the opportunity to tour Sweden and Norway while visiting them. While driving through fjord country, we were all struck by the cozy little red and white houses tucked into the hillsides. These simple Christmas blocks are a variation on the Danish Townhouse project from my book, Scandinavian Gatherings. They can be stacked and nestled among snowy bottle brush trees to make your own tabletop Norwegian Christmas village. Scroll down for materials and instructions.
Big thanks to Gina of Willowday for inviting me to participate in 24 days of Scandinavian Creativity this year. You can find all of this year’s projects on her blog, including yesterday’s darling Crepe Paper Wreath Cupcake Toppers from Chiara, who contributes regularly to Oh Happy Day! And be sure to swing by Willowday tomorrow as well to see Helena Lyth’s post for Day 16.
MATERIALS & TOOLS
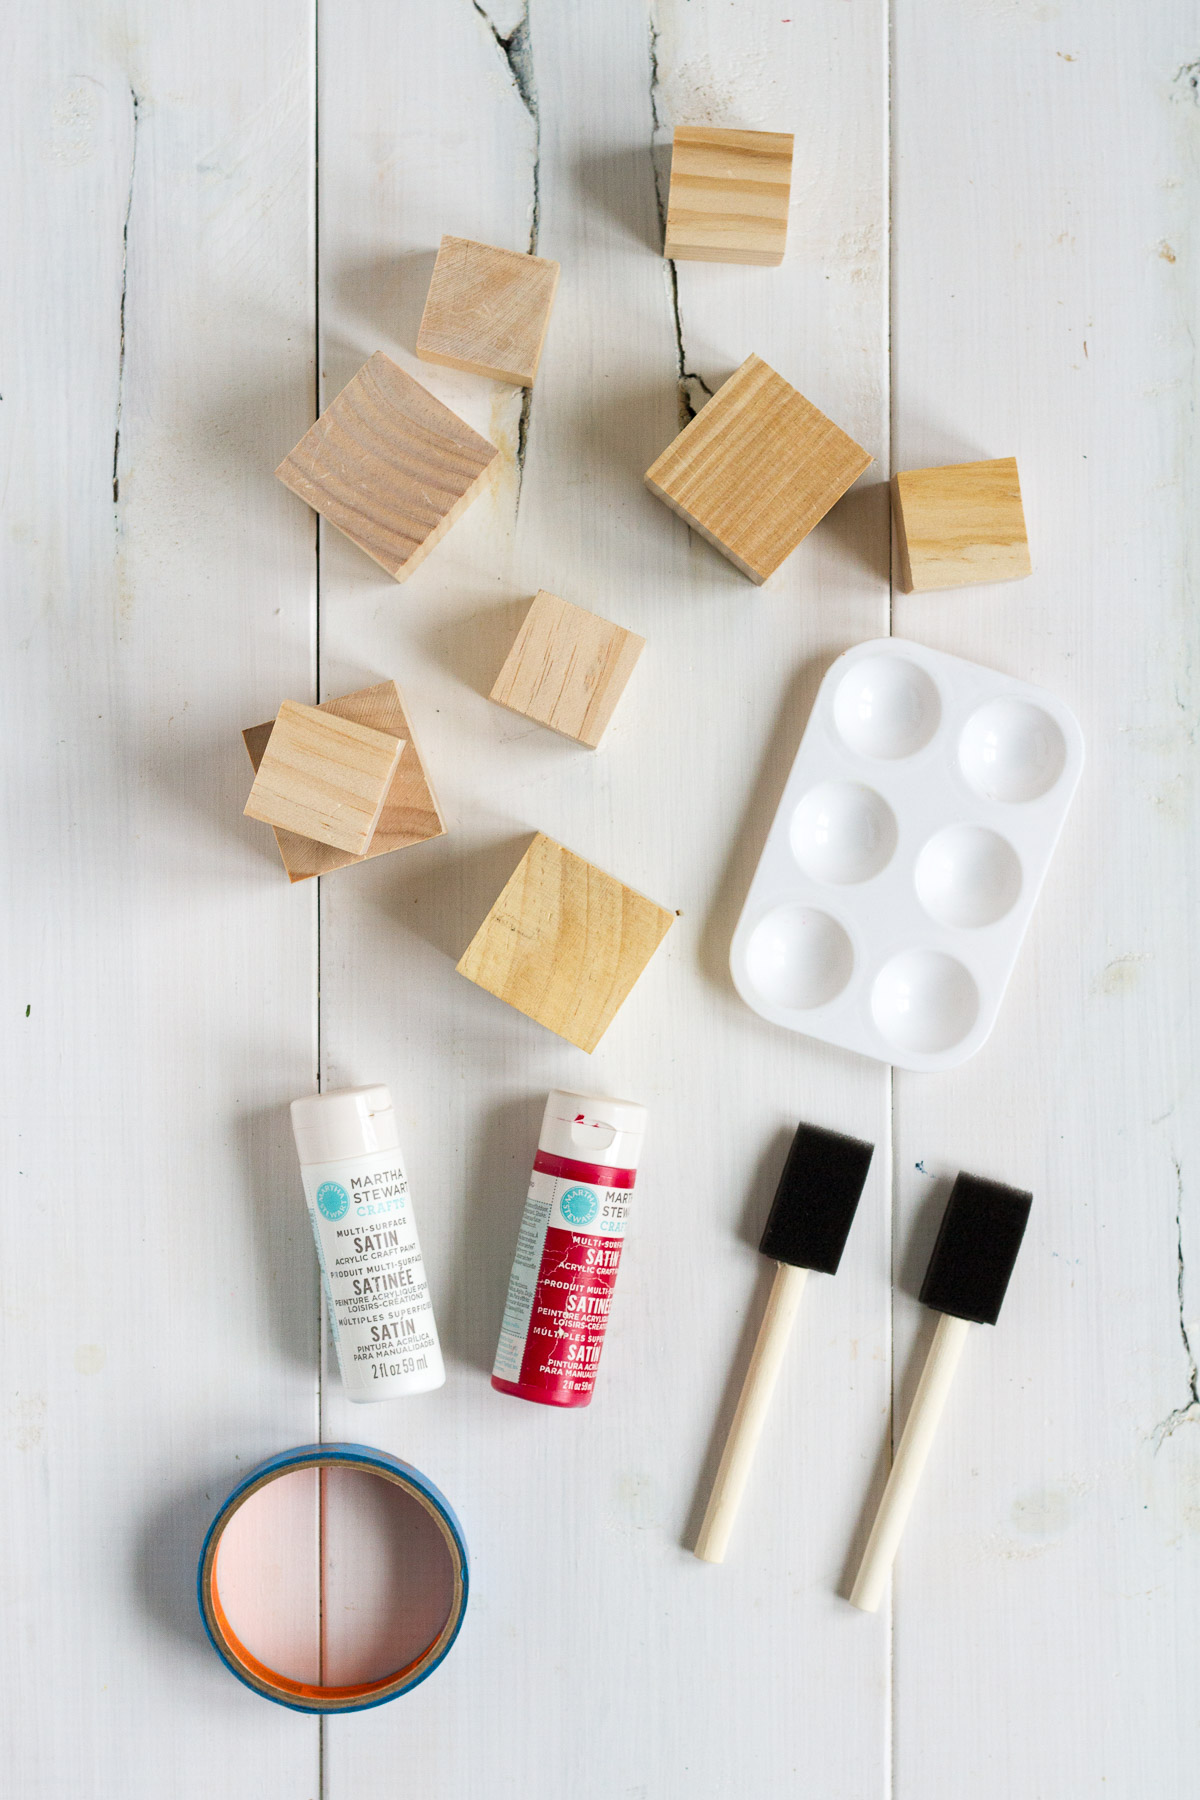
plain square blocks (1.5″ and 2″)
red craft paint
a paint tray (or a paper plate or scrap of cardboard)
paint brushes
painter’s tape
white craft paint
INSTRUCTIONS
1. Paint the sides of each block red. You don’t have to paint the top or bottom faces. Allow to dry completely.


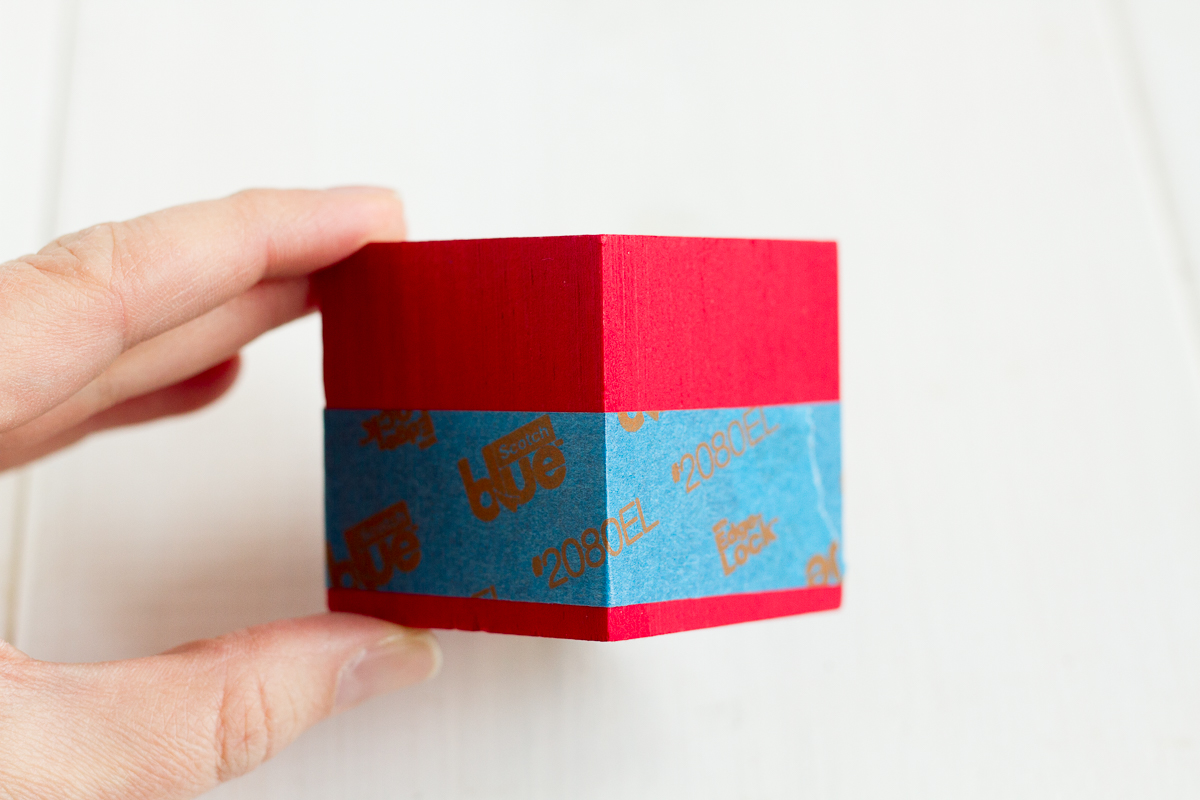
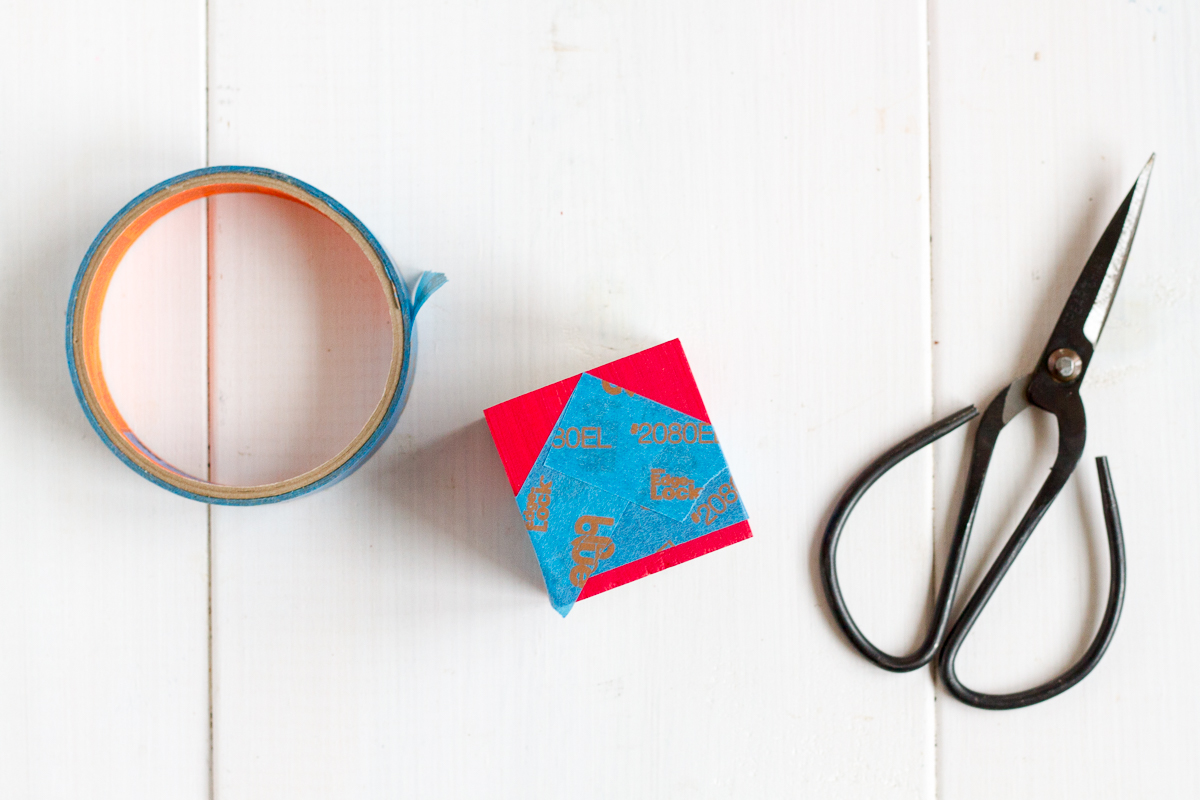
2. Use the painter’s tape to tape off the roofline for each house. I start by putting a piece of tape all the way around the painted faces of the block, about halfway up. Then I tear off a piece of tape about 4″ long and cut it in half so that it has nice, straight edges. I use those pieces to tape off the roof peak on the front of the house. See the photos below for details.
3. Paint the roof of each house white. It will take several coats of paint (mine took 3), and you must let each coat dry before adding the next. It sounds like it takes a long time, but it actually goes really quickly.
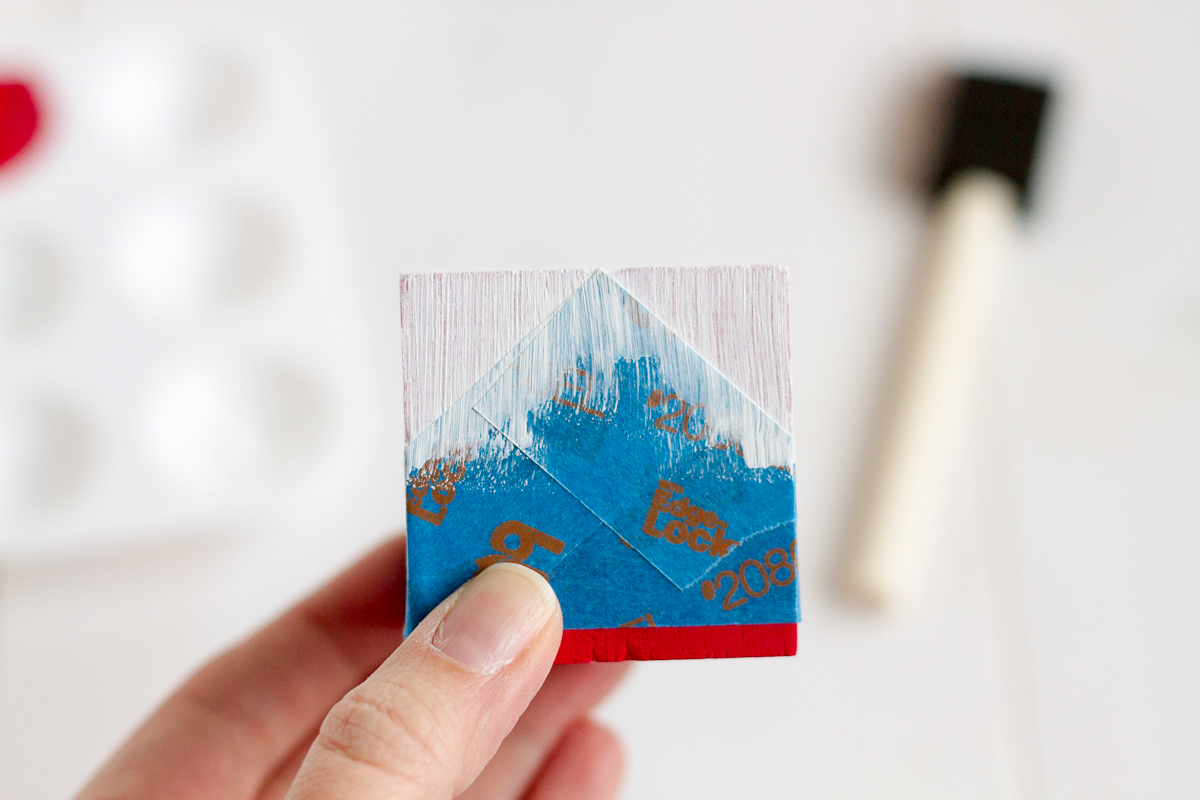
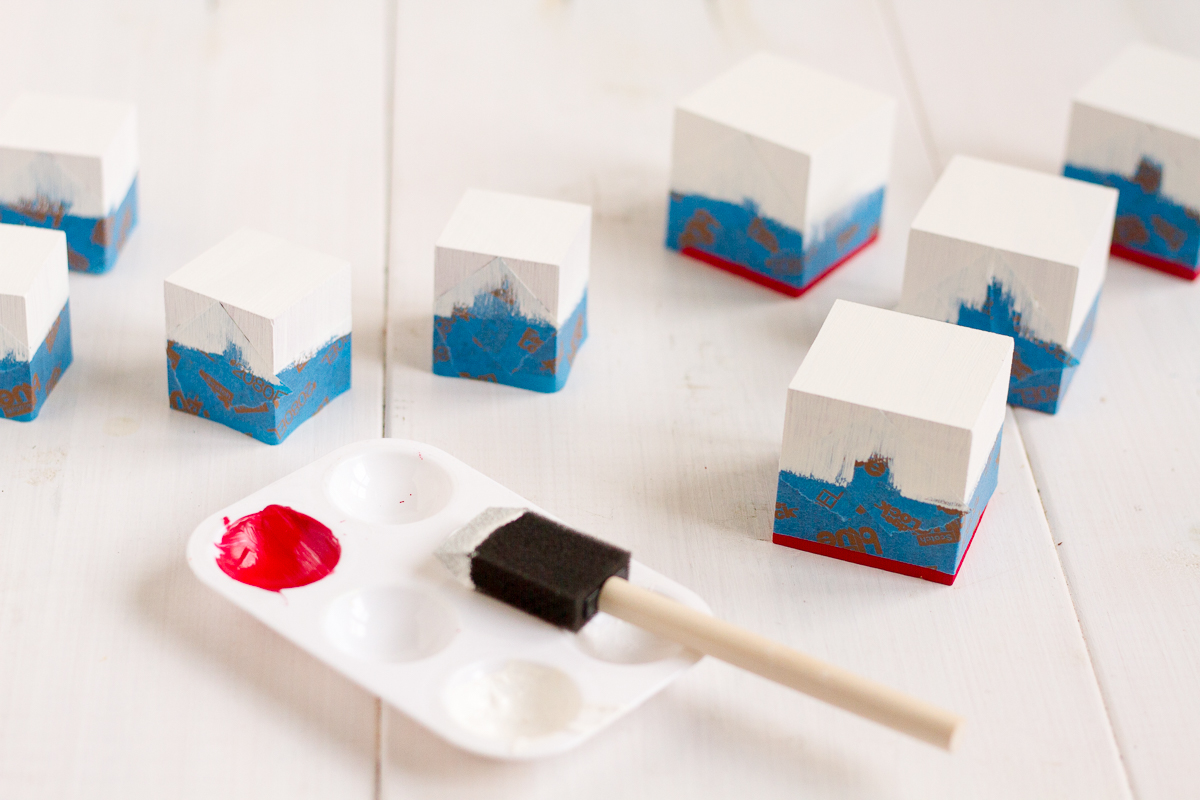
4. When you are done painting the last coat of paint on the last house, go back and remove all the painter’s tape. If you let the paint dry all the way with the tape still on the blocks, it can cause the paint to pull and flake off when you remove the tape. Remove the tape, and allow the blocks to dry completely.







Hello Lulu!
I had some 1 inch blocks of wood, and painted a few following your instructions. They look so cute! Thank you so much for the tutorial! Have a Happy Christmas in 2020! Let’s hope that next year we will be rid of Covid-19!!!
I’m so glad they turned out, Janet! Happy Holidays!