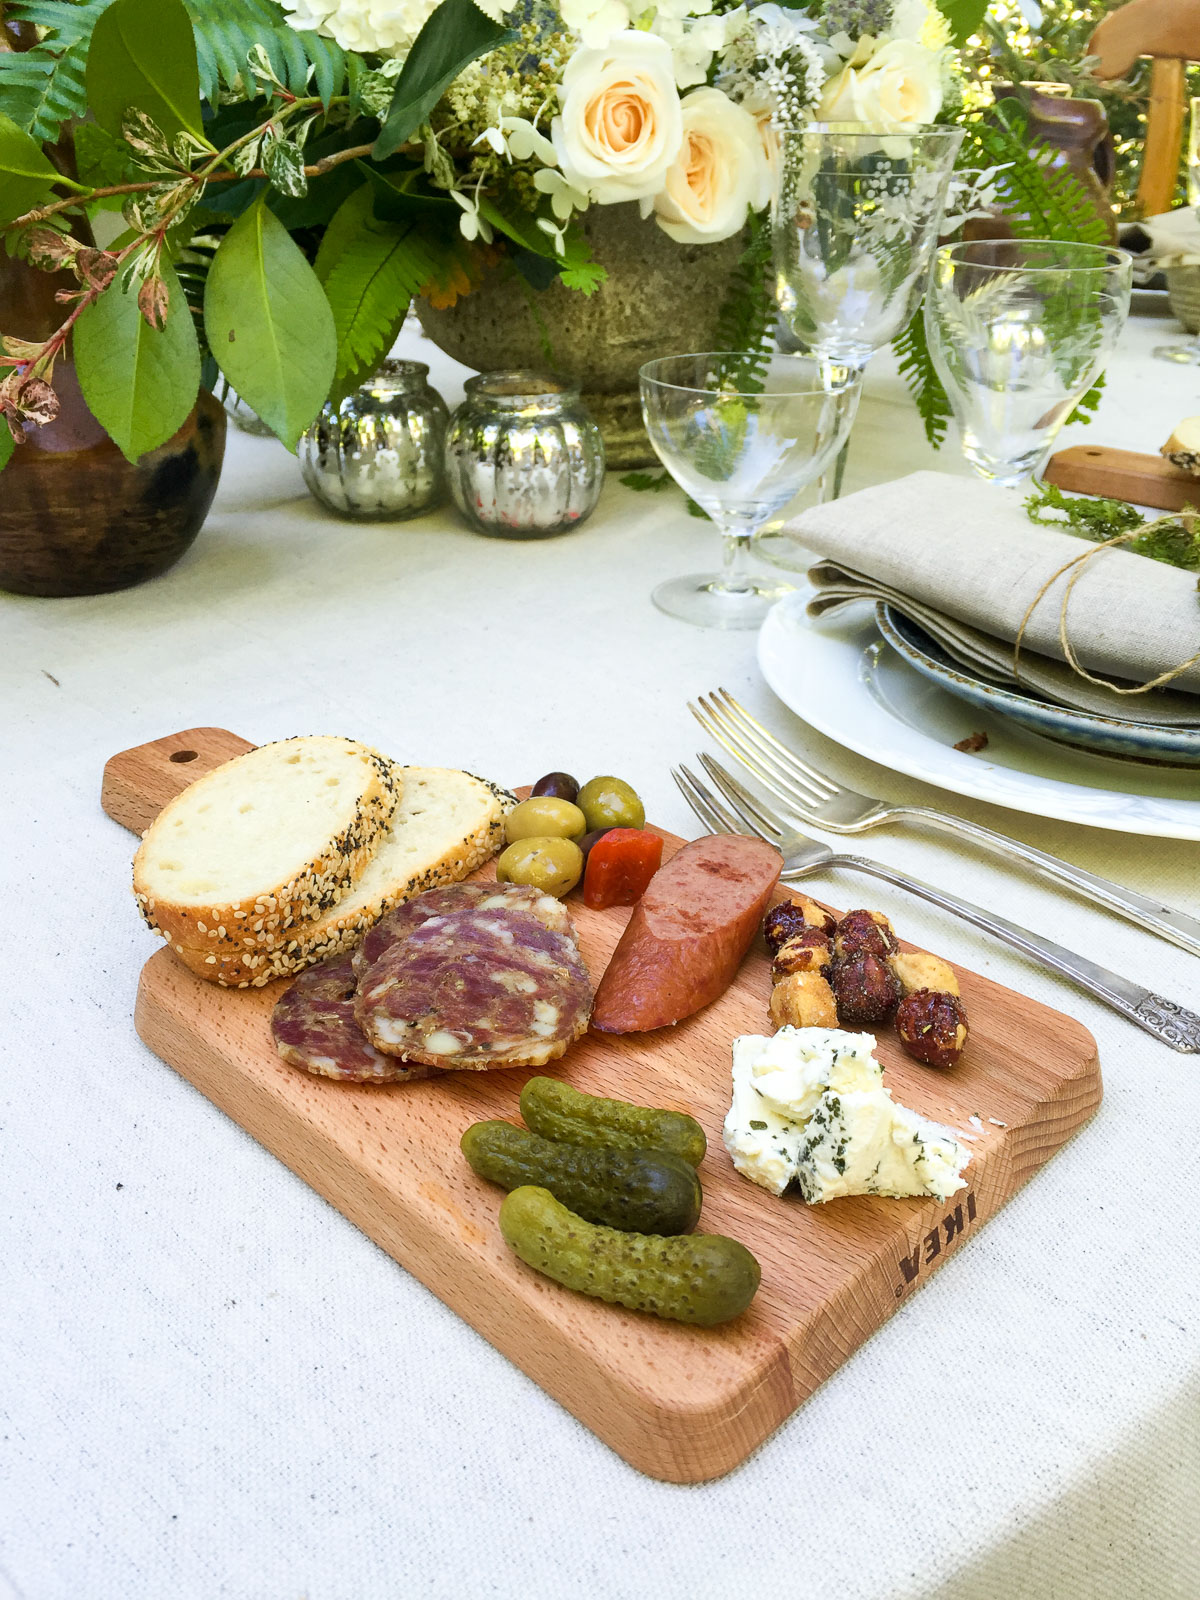
At the end of June, I had the pleasure of working on a fun wedding photo shoot in Eugene. It was staged at a gorgeous home in the hills south of campus, in a beautiful, terraced garden overlooking the city. When the photo shoot coordinator first contacted me, she said they wanted a charcuterie board theme for the food, and I immediately thought that instead of doing a big spread, it would be fun to make mini cheese plates to go at each place setting. They looked amazing at the photoshoot, and would be so cool at a dinner or cocktail party. Here are some of my tips for making these easy and super chic mini charcuterie boards.
- IKEA has these wonderful little PROPPMATT chopping boards that are perfectly sized for mini charcuterie boards, and they only cost $3.99 a piece. They are a great size and weight, and are so much less expensive than any other similarly sized cutting boards I’ve seen. Make sure you have them right side up before you load them with food, something I clearly forgot to do for the photoshoot!
- When choosing components for my charcuterie boards, I tried to remember to get different colors, textures, shapes, etc. to make them visually interesting. If I had the choice between something plain and something a little fancier, I generally went for fancier, and I think the overall look was perfect.
- The main part of a charcuterie board is the meat. I chose two different meats that looked and tasted different to really add interest to the boards. I chose a delicious finocchiona salami that I had the deli counter slice about the thickness of a quarter, and then a simple smoked sausage that I sliced on an angle and grilled at home.
- Cheese is a perfect partner for smoky meats, and I chose an herbed triple cream cheese. It was packaged in these really lovely, visually striking pinwheels, but when I tried to cut them into slices, they smushed. Still delicious and interesting to look at, with nice flecks of herbs throughout.
- I love a good bread product, and we have a bakery in town that makes the most amazing baguettes. I usually choose the plain baguette, but since I wanted everything to be more interesting rather than less interesting, I chose the seeded baguette instead.
- To add a little local love to the boards, I chose some candied Oregon hazelnuts. Any kind of delicious nut would be a good addition to a mini charcuterie board, especially if it’s a little out of the ordinary.
- Olives are another charcuterie board staple. I had a really hard time choosing olives from the massive olive bar at our grocery store, but I decided on this French cocktail olive mix because it was so pretty and had lots of different shapes and colors. I especially love the little pop of red from the roasted red pepper.
- I wanted to add some pickles to the board to add a little more color, and these tiny cornichons were the perfect size. You can usually find them in jars near the other pickles, but if your grocery store has an olive or antipasto bar, they can probably be found there too.
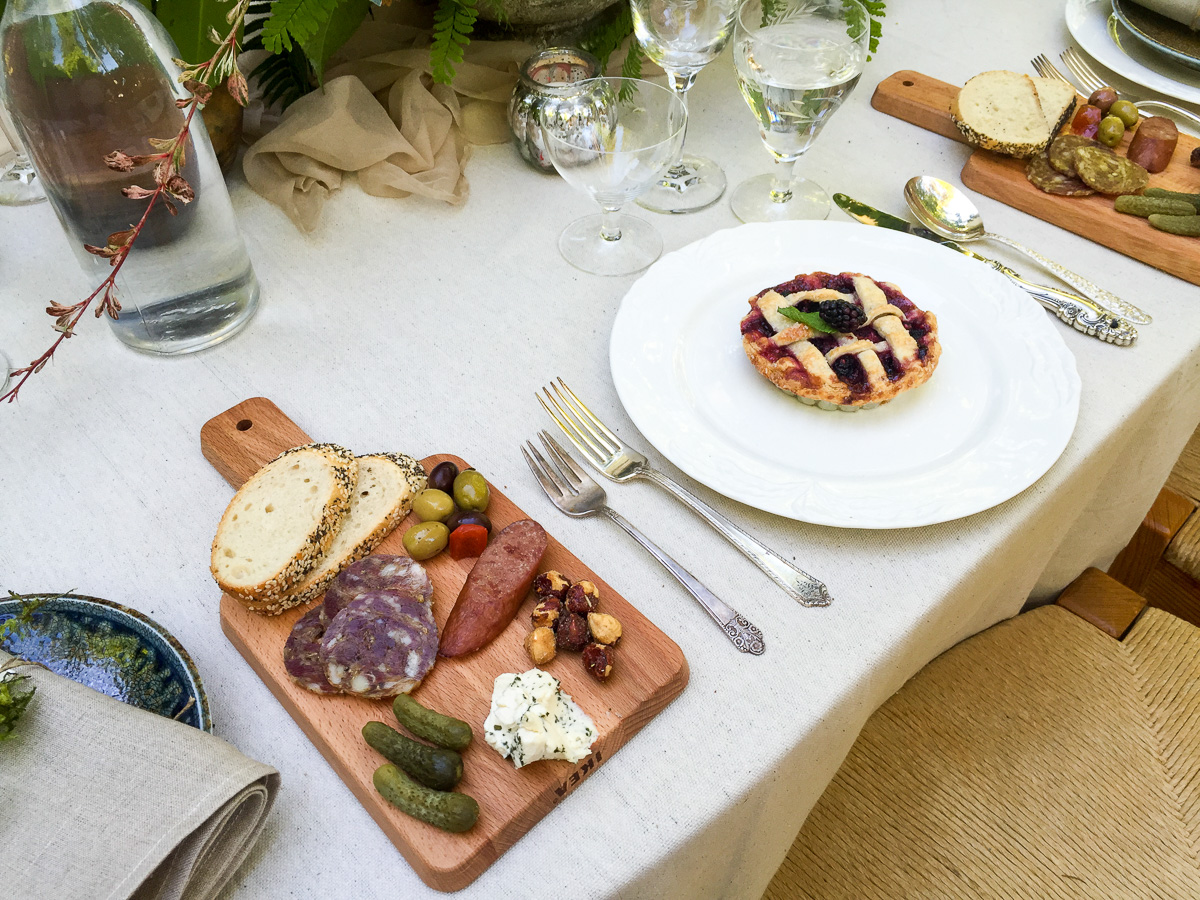
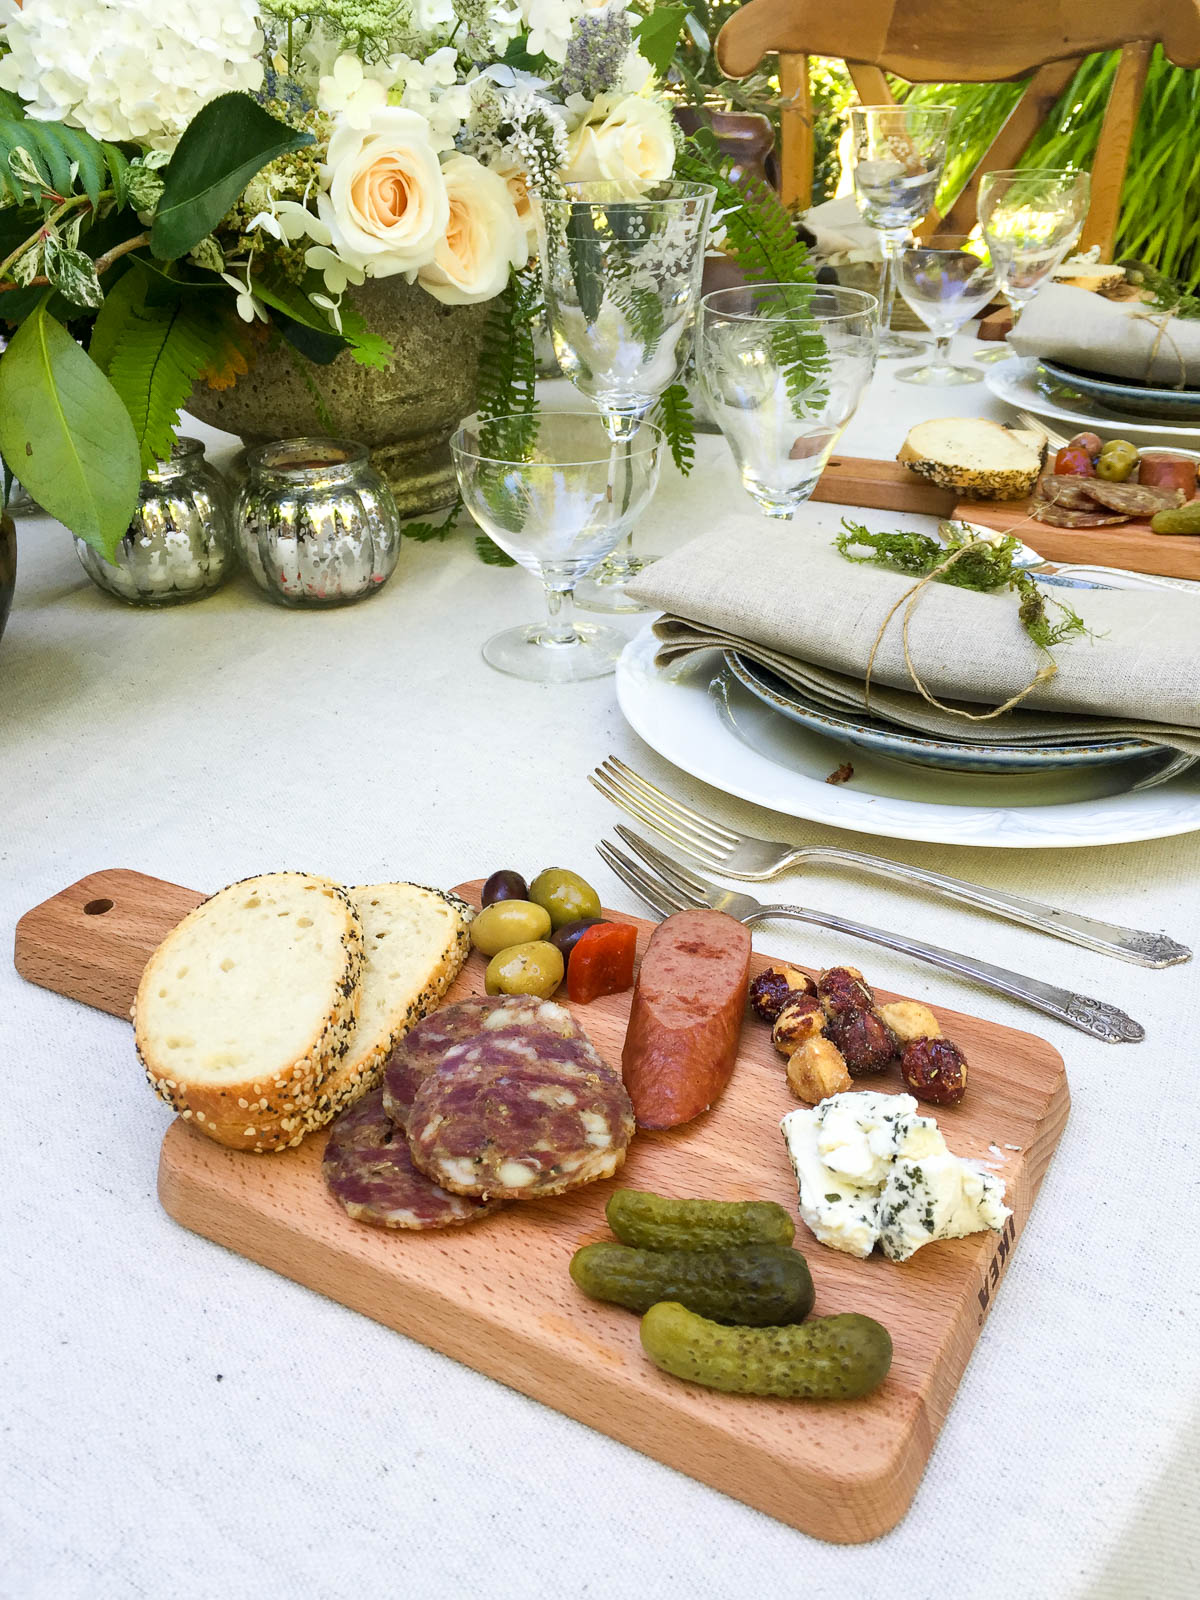
If you want to read more about charcuterie boards from a pro, check out this Epicurious article with tips from Elias Cairo of the famous Portland charcuterie shop, Olympia Provisions. And hopefully I can share more photos from this amazing photoshoot soon. In the meantime, these snaps from my iPhone will have to suffice!


I’m a MASSIVE charcuterie board fan. Ploughman’s lunch (or variations of it) is seriously my favourite meal.
And I can’t believe those boards are so cheap! Ohhh IKEA I love you
Yes, the boards are the least expensive I’ve ever seen, and they are the perfect size!
I adore this idea!!! Can’t wait to try it!
It is so fun and looks so cute!