This post was created in partnership with American Greetings. All opinions are my own. Thanks for supporting the brands that make Lulu the Baker possible.
I love how a cute greeting card sets the tone for a special gift. Whenever I’m giving a present, whether it’s for a birthday, bridal shower, baby shower, or wedding, both the card and the wrapping paper get equal consideration. After all, they’re both part of the total package, and the first thing the gift recipient sees; you don’t want to wrap your carefully chosen present in drab wrapping paper, or saddle it with a boring card! Sometimes, if the card is especially pretty, I even let it serve as the point of inspiration for how I style and wrap the gift.
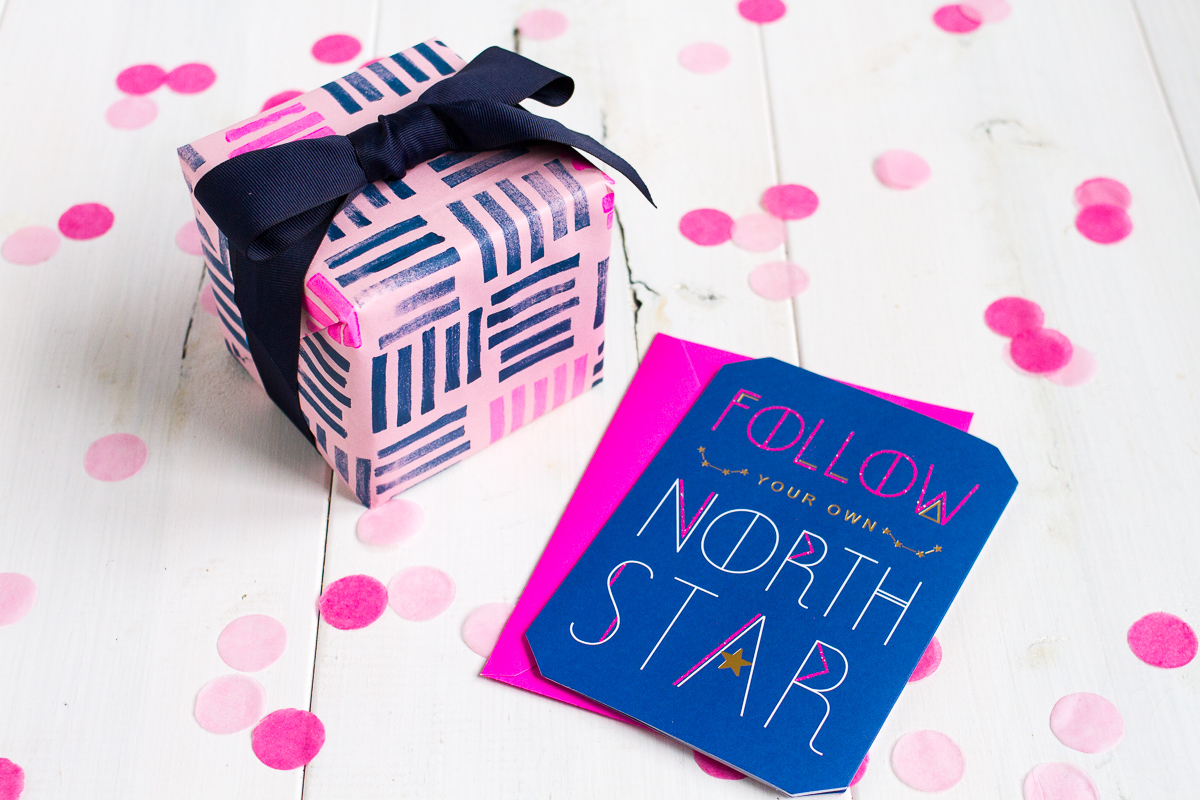
After combing through the card section at Target a few weeks ago, and finding dozens and dozens of cute cards, I narrowed my selection down to this navy and hot pink beauty with just a touch of glitter and gold foil. It will be perfect for my little sister’s birthday next month! And the pretty color combo gave me a great idea: block-printed wrapping paper. If you’ve flipped through my book, Scandinavian Gatherings, you’ll be familiar with this easy stamping technique. But it doesn’t just work for Christmas wrapping paper; you can make cute wrapping paper for any occasion. For my sister’s birthday gift, I decided to make a graphic pattern with alternating blocks of stripes in the beautiful shades of blue and pink found in the card I bought at Target. Instead of using a plain white or kraft paper background, I opted for a pretty shade of blush pink, but any solid colored, matte wrapping paper would work. Next time you need a birthday card (or any greeting card!), head to Target to find the perfect one, and let its color, design, and message inspire you to make your own coordinating wrapping paper for that special gift.
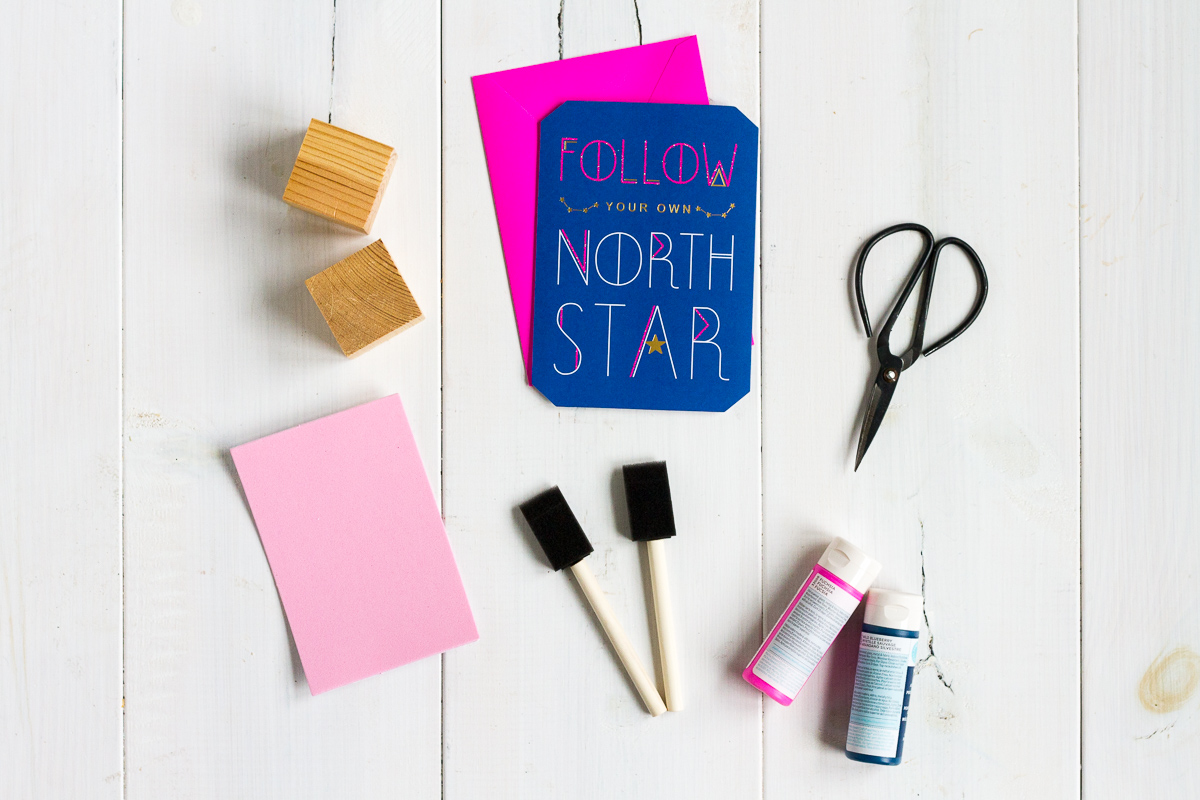
MATERIALS
plain wrapping paper
1 2″ wooden block for each stamp you want to make
adhesive-backed craft foam
scissors
craft paint
foam paint brushes
INSTRUCTIONS
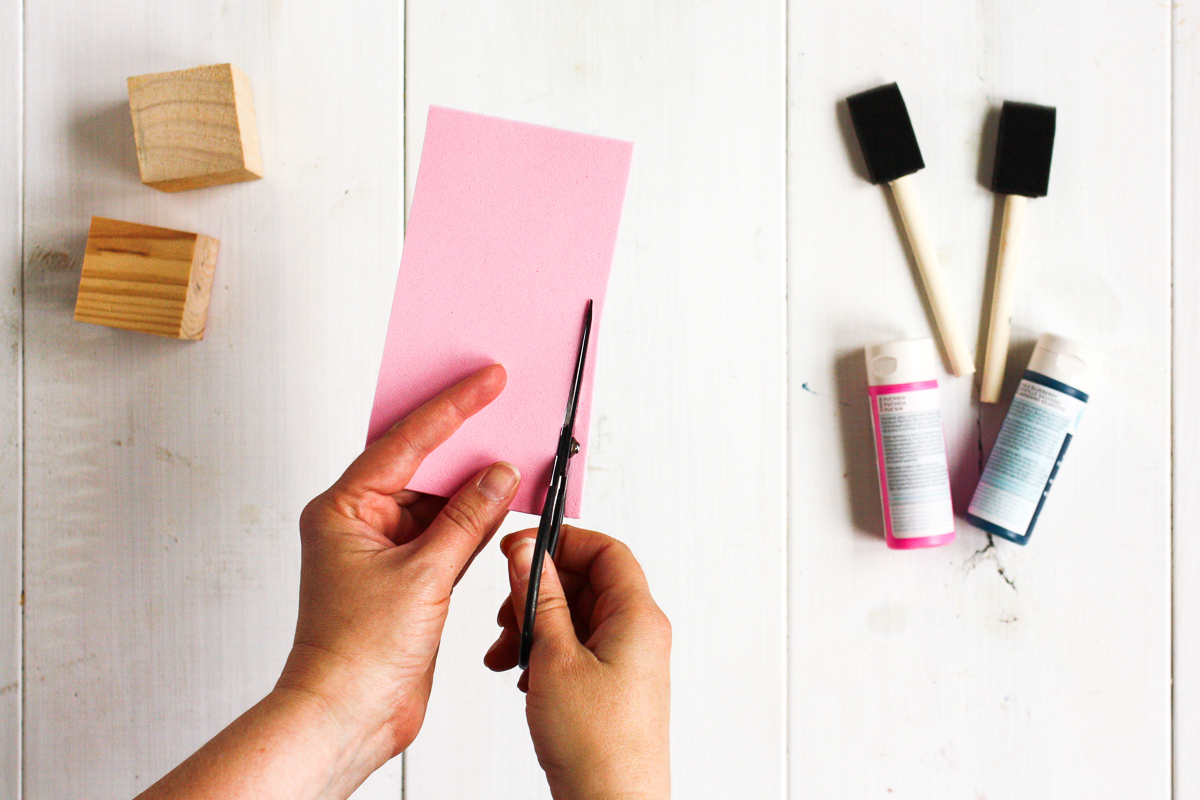
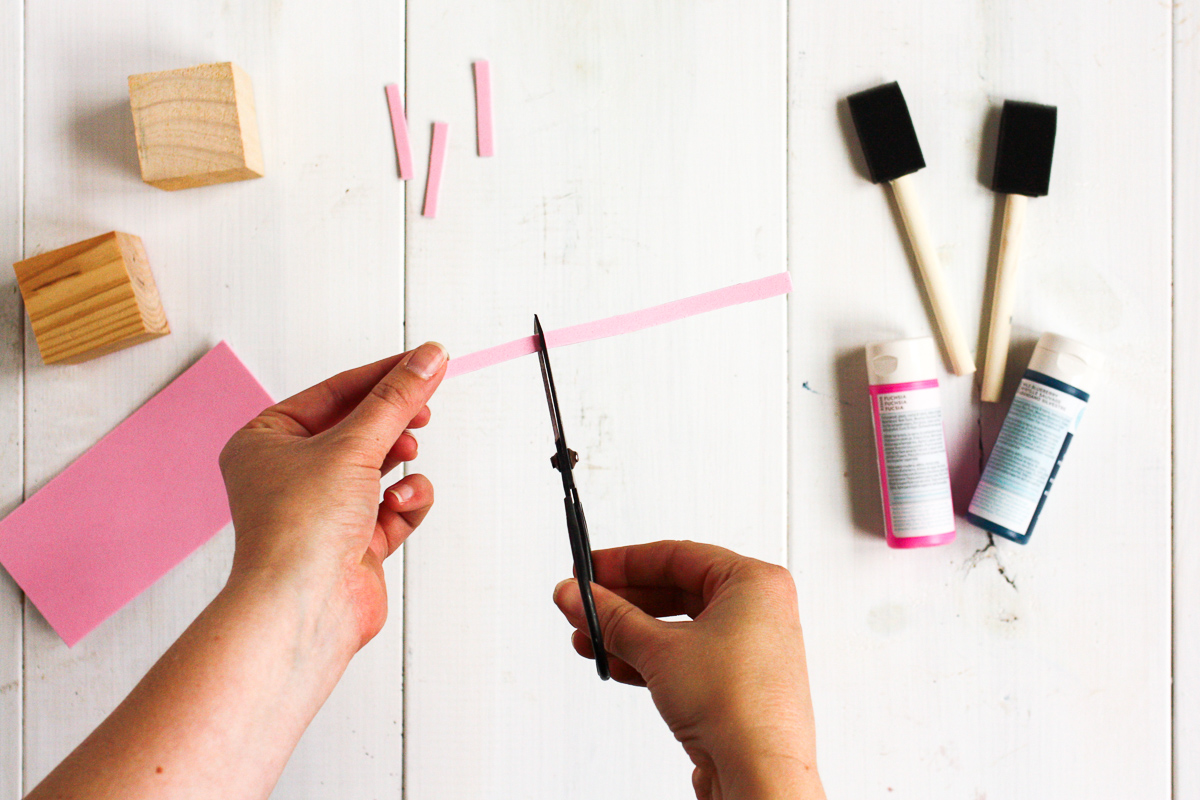
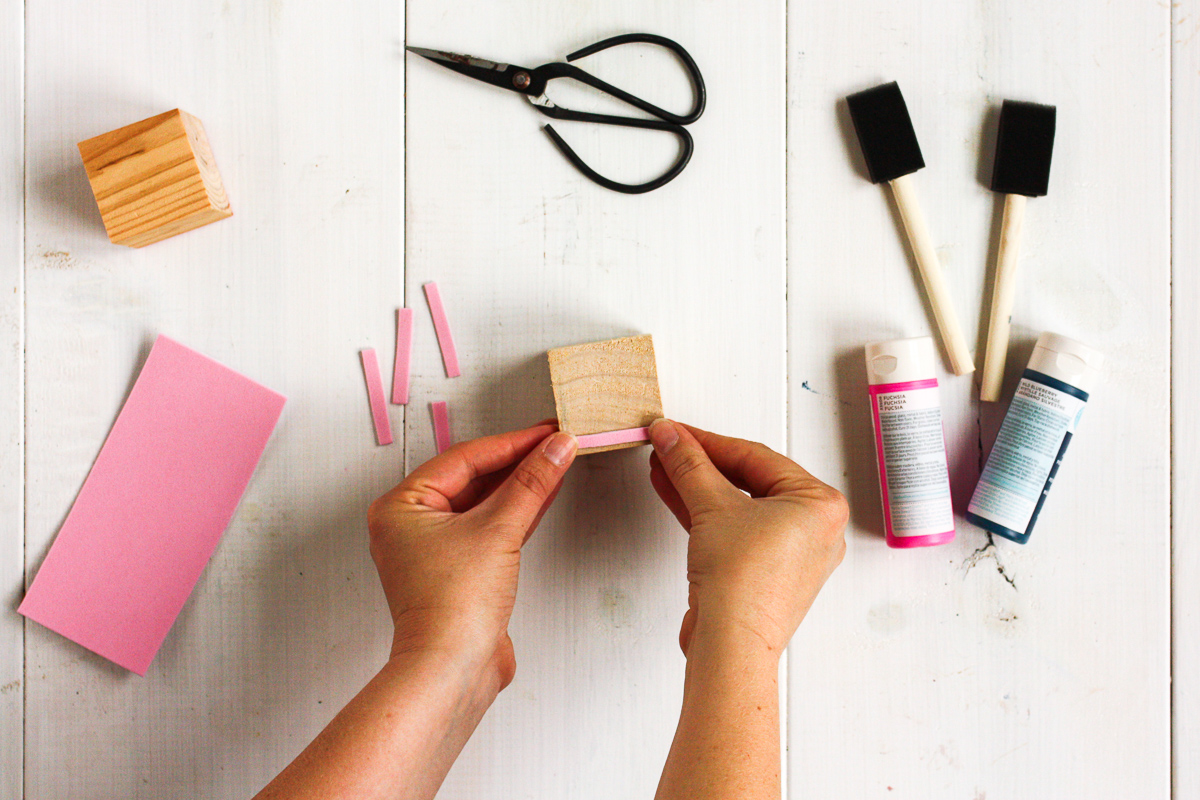
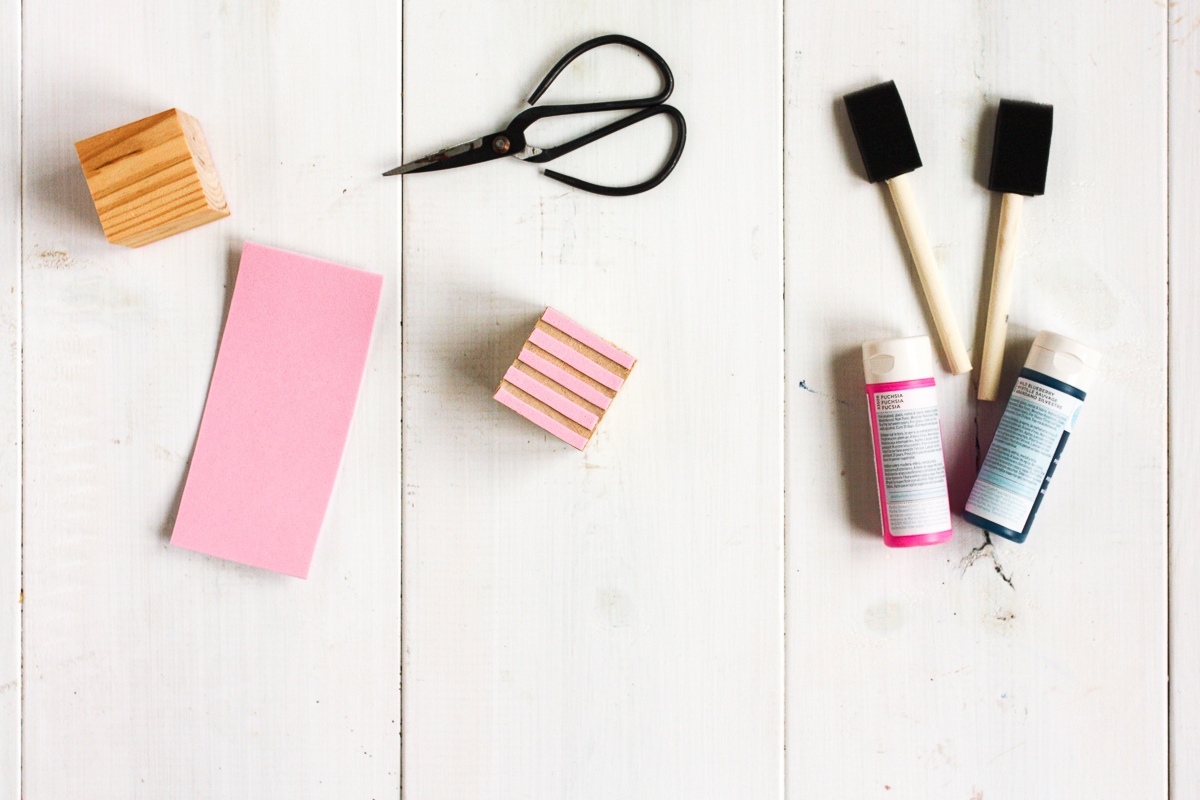
1. Cut five 2×1/4″ strips of adhesive-backed foam. Peel off the paper backing, and attach all 5 foam strips to one of the wooden blocks, forming 5 equally spaced stripes. You can make multiple stamps if you plan on using different colors of paint, or you can just wash your stamp and let it dry between colors.
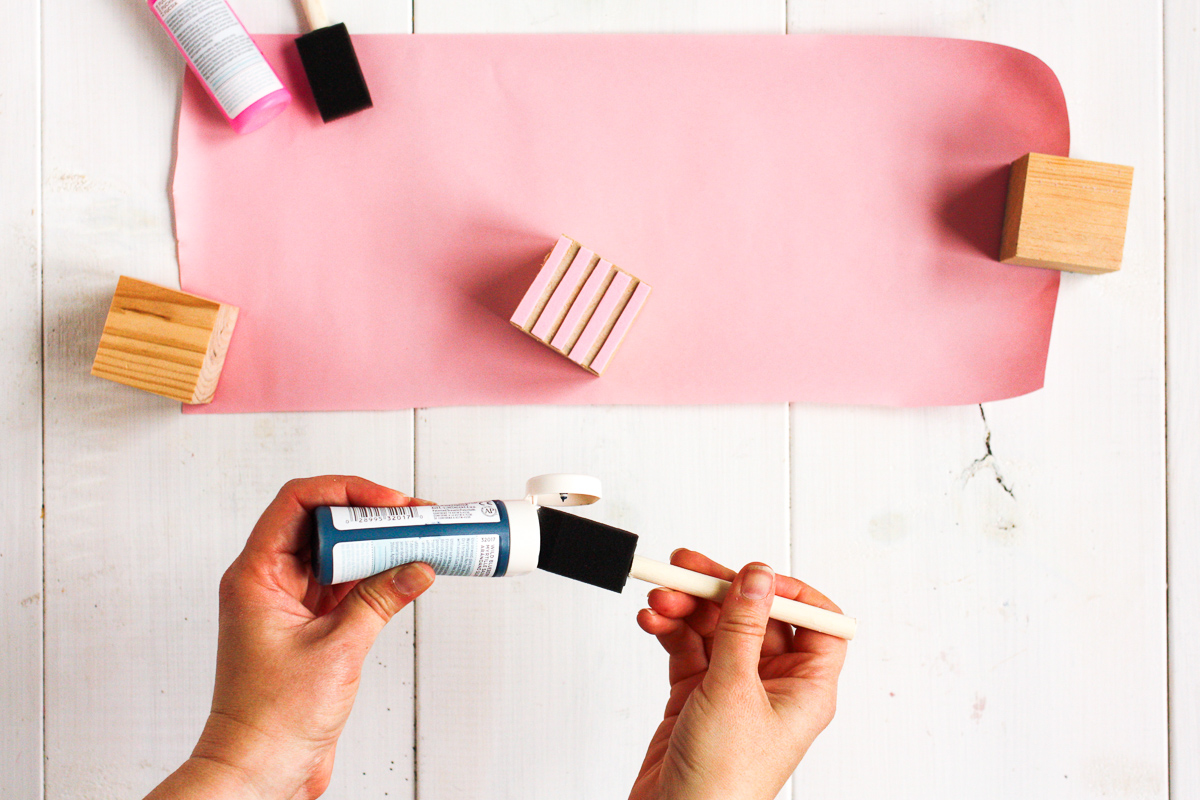
2. Roll out a length of paper on a flat surface and secure the corners with heavy objectives so that it doesn’t roll back up on itself. Squirt a small amount of paint onto a foam brush, and cover the stamp with a thin layer of paint. Press the stamp onto the wrapping paper. Lift the stamp, give it a quarter turn so that the stripes are going the opposite direction, scoot over a bit on the paper, and stamp again. You should be able to get 2 or 3 stamps before you have to apply another thin layer of paint.
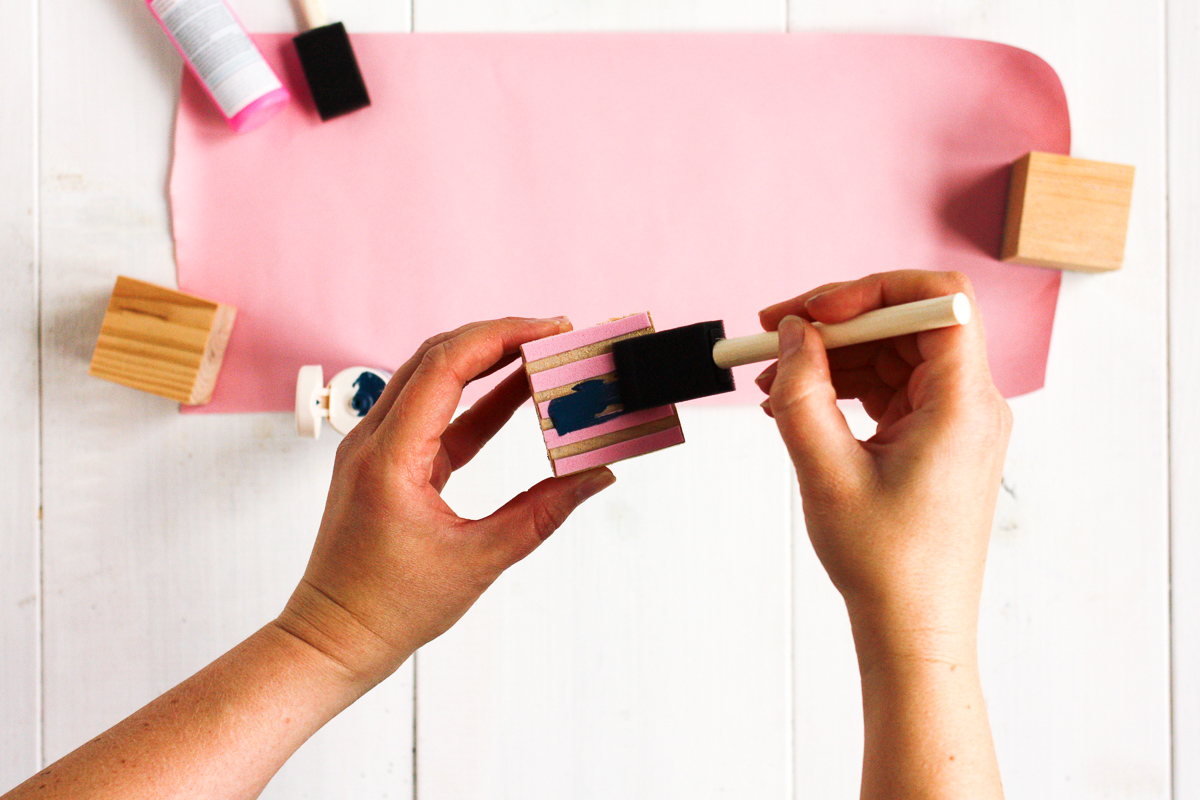
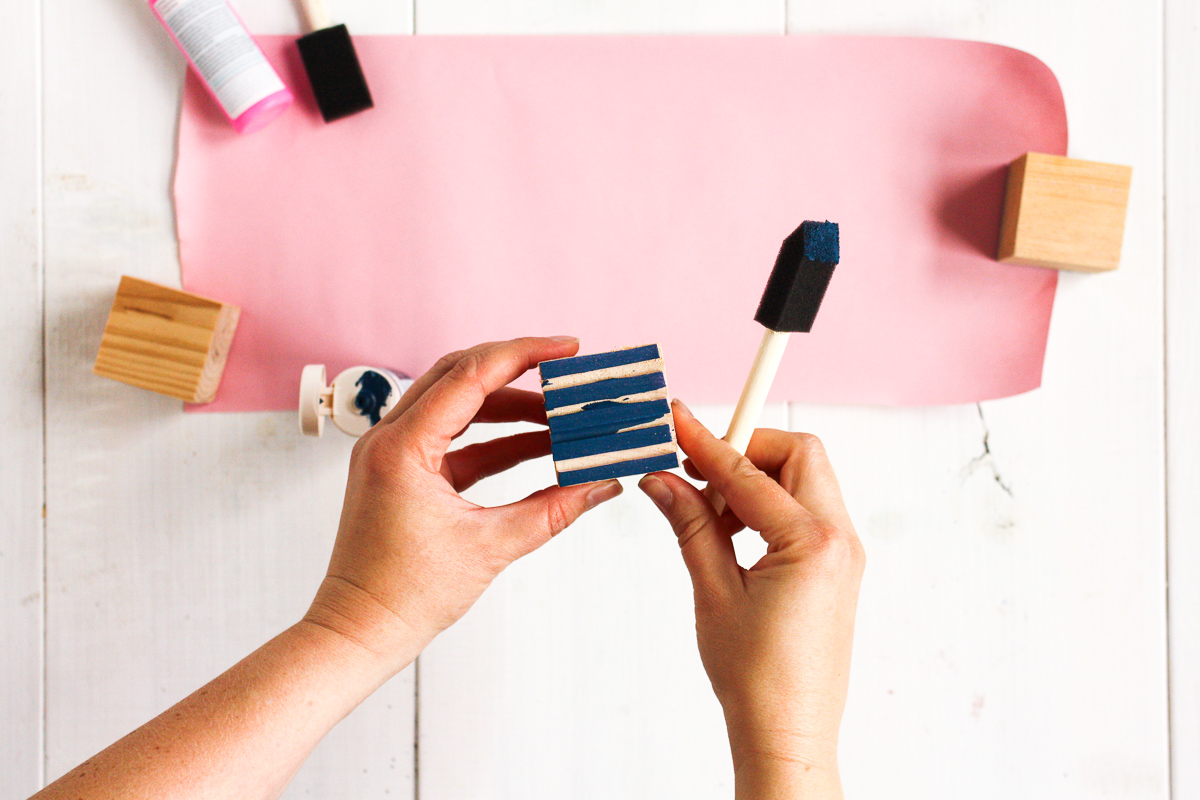
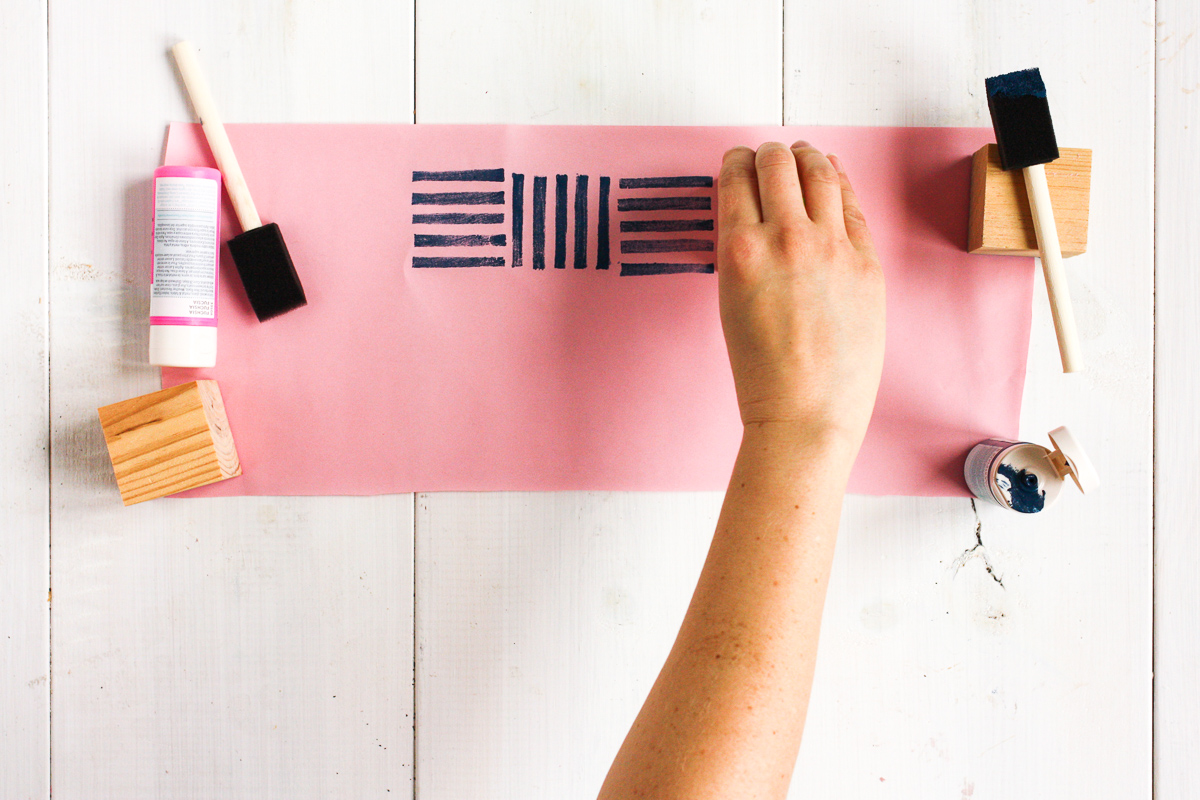
3. Keep stamping, alternating horizontal stripes and vertical stripes, until you have as much paper stamped as you need. I tossed a little hot pink paint in among the navy, but you can use whatever colors you want.
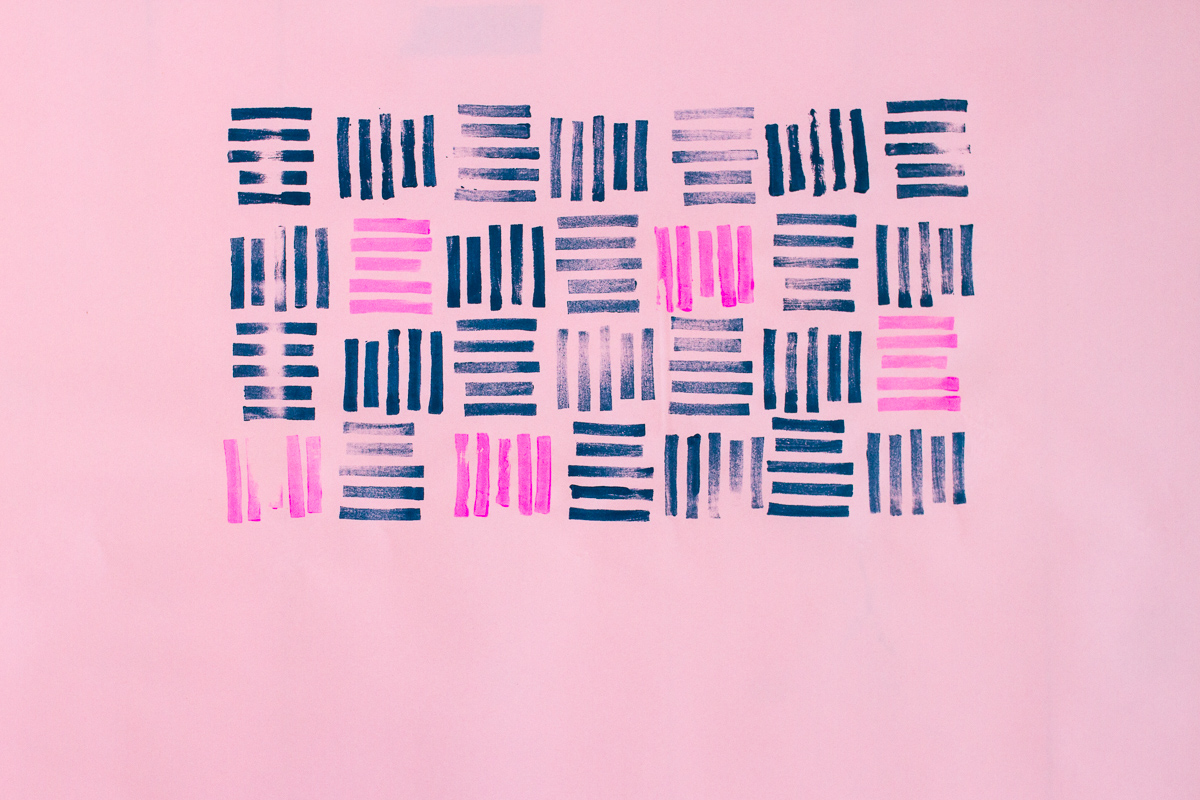
4. Allow the painted wrapping paper to dry completely before using.
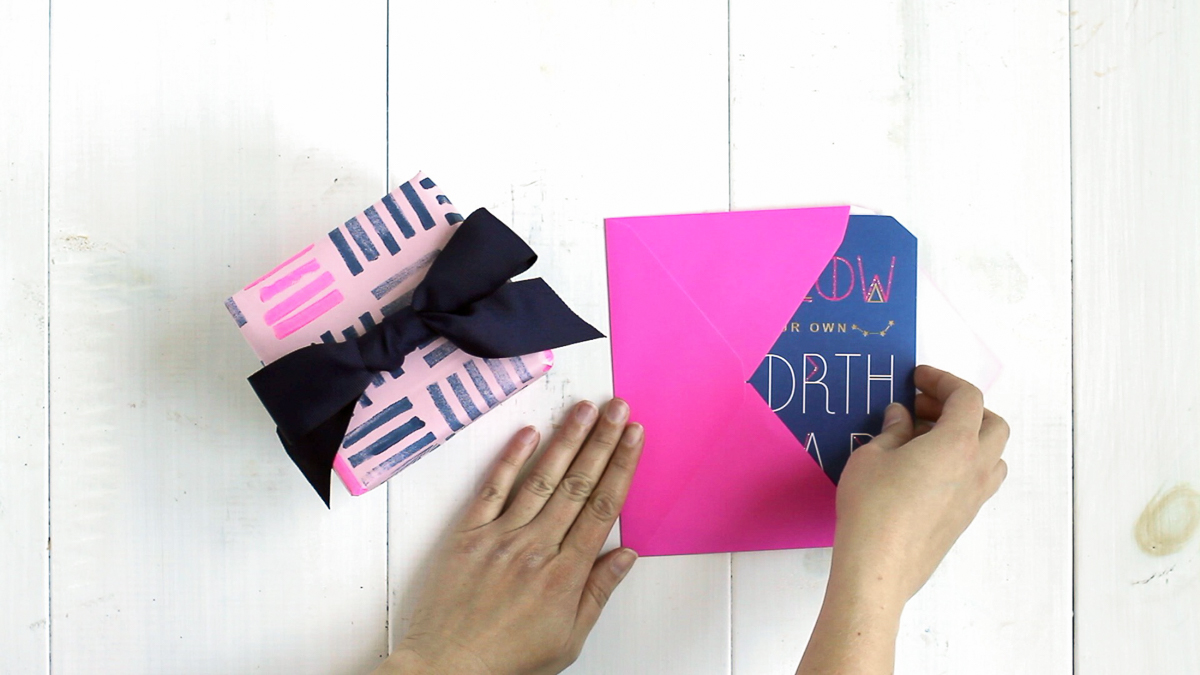
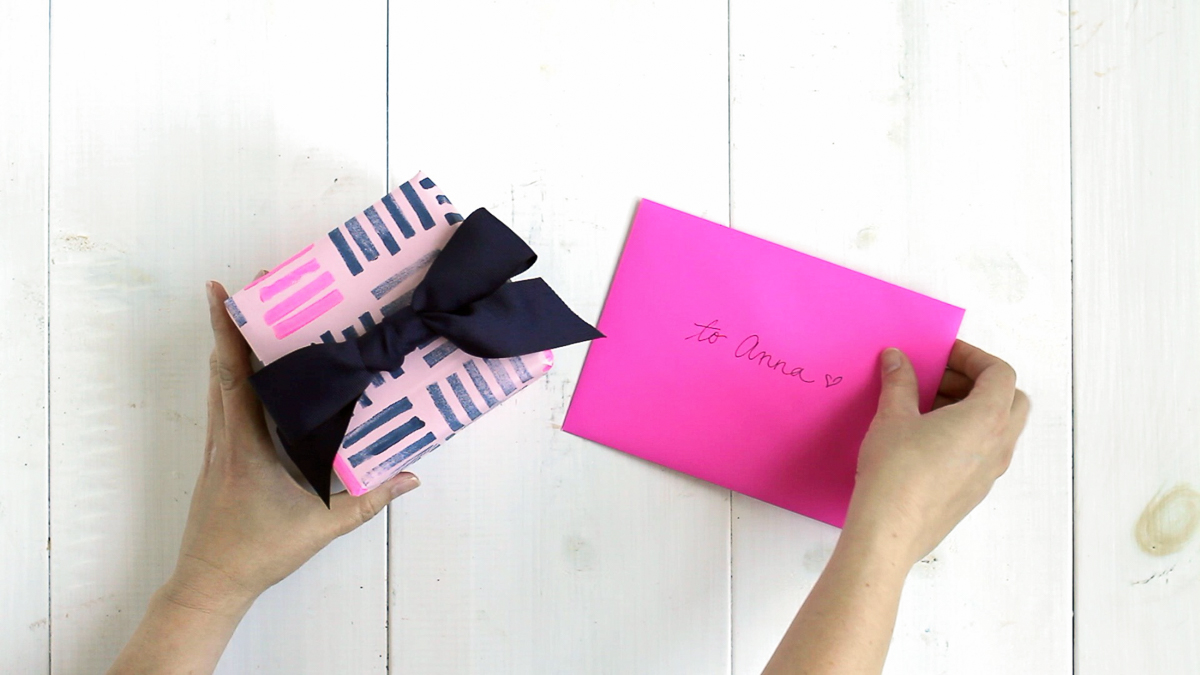
If you want to see this project in action, head over to my Facebook page to watch a cute little video showing all the steps. And be sure to check out the American Greetings Pinterest page for more greeting card inspiration!


SO cute!! I’ve always wanted to give block-printing a try, so thanks for the inspiration! And that card is just beautiful 🙂
I love block prints and these colors are so great, too!!
Thanks, Amy! I really love how great the navy and hot pink look together.
This is just beautiful — seriously needs to be a framed print in addition to the wrapping paper! 🙂
Aw, thanks, Lindsay!
Oh my goodness, I love this! I kind of want to make an art print with this idea!
You totally should! It’s so easy, and you can really customize it however you want!
So beautiful and so simple! I would like to try this technique on tea towels too!
For sure! It’s such an easy block-printing shortcut!
This is SO STINKIN’ CUTE! What a great way to personalize gift wrap. And I love the navy and pink together!
Thanks, Tan! I love how it turned out!