
This post has been sponsored by ©2017 Mars, Incorporated and its Affiliates. All thoughts and opinions are my own.
It’s October, and as far as I’m concerned, that means one thing: Halloween! Halloween is right up there on my list of favorite holidays. I love Fall and all that comes with it: chilly temperatures, sweater and boot weather, crisp leaves swirling around on blustery days, baked goods filled with apples and pumpkins and spices. Halloween takes all of those good things and adds magic and fun and homemade costumes and sugary sweets.
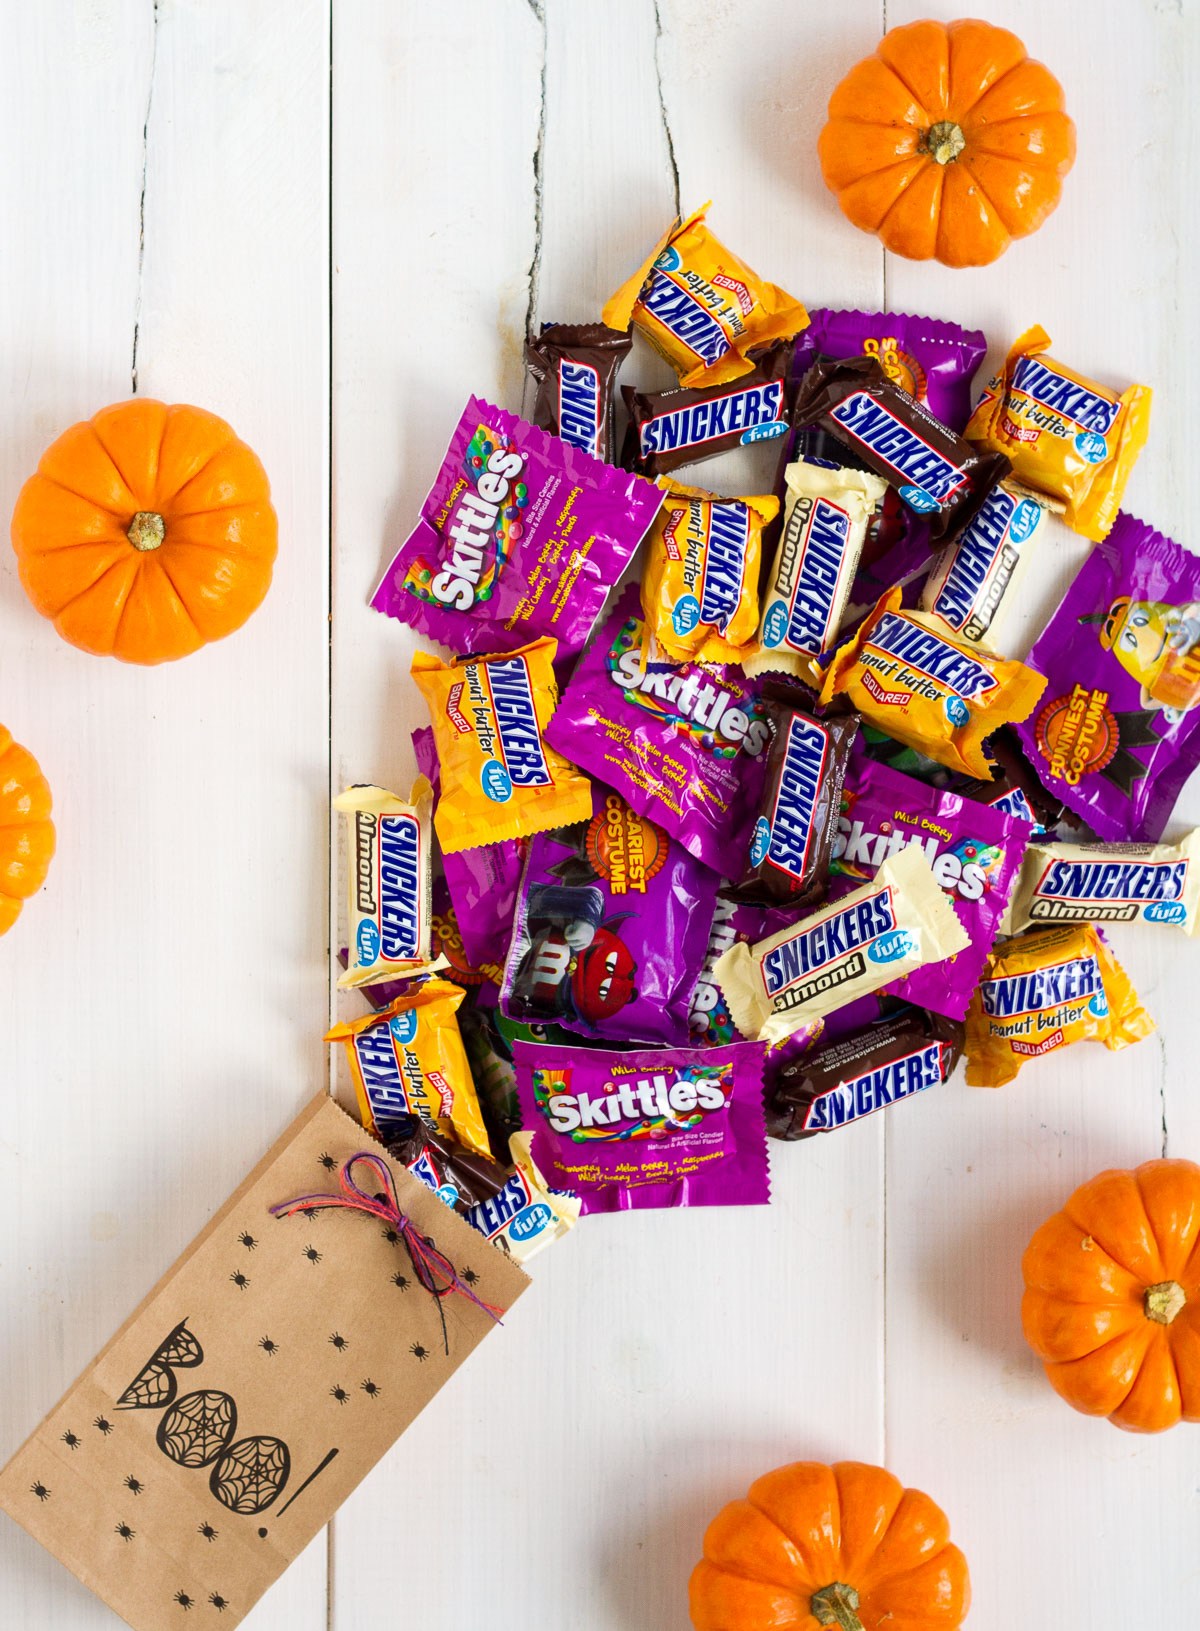
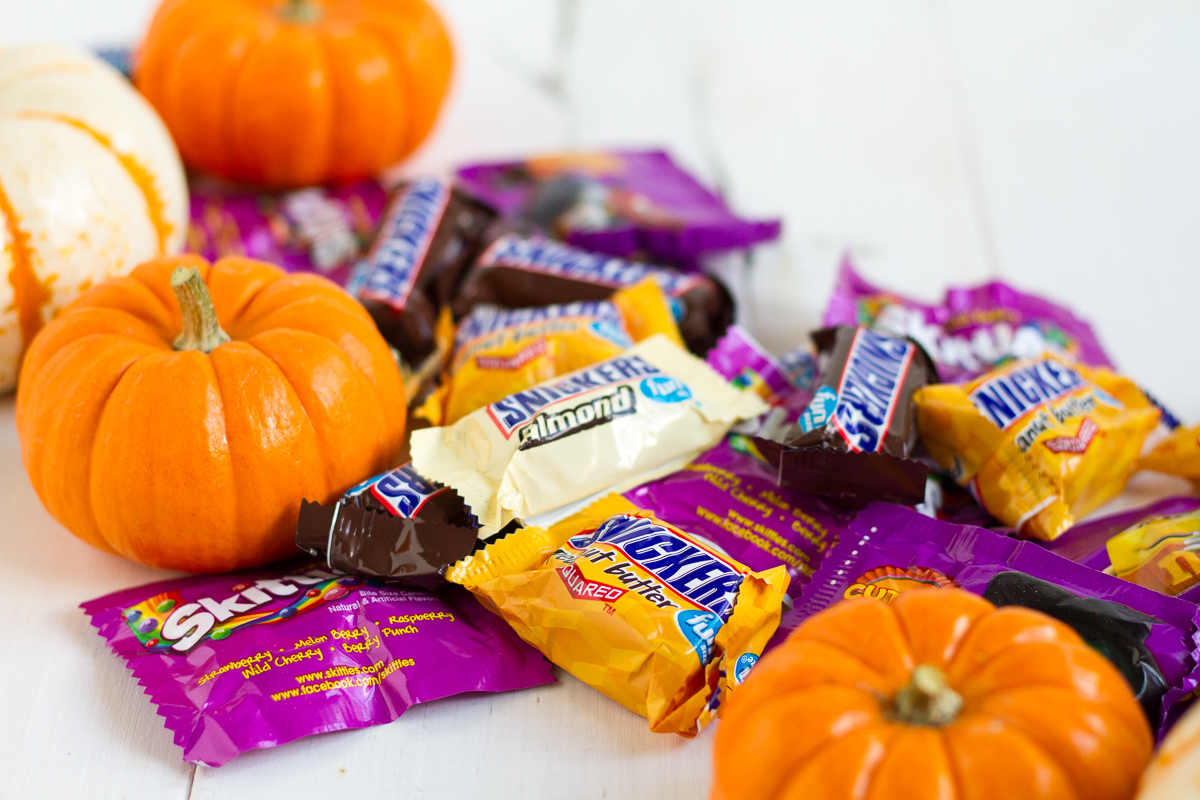
I have always had a big sweet tooth, thus I’ve always loved trick-or-treating and getting lots of Halloween candy. My siblings and I used to love sitting down on Halloween night, dumping all our candy out onto the family room floor, and sorting it. We’d put all the Snickers, Twix, and other chocolate bars in one pile, all the fruity candies like Skittles and licorice in another, bubblegum in a third, and so on. Each pile went in a small plastic bag, then those went in a grocery bag with our name written on it. I’m not sure how we developed this system, but it totally worked and was one of my favorite parts of Halloween night. We’d store the bags in the freezer and eat our bounty slowly over the next few months. The smell of frozen chocolate always reminds me of my childhood!
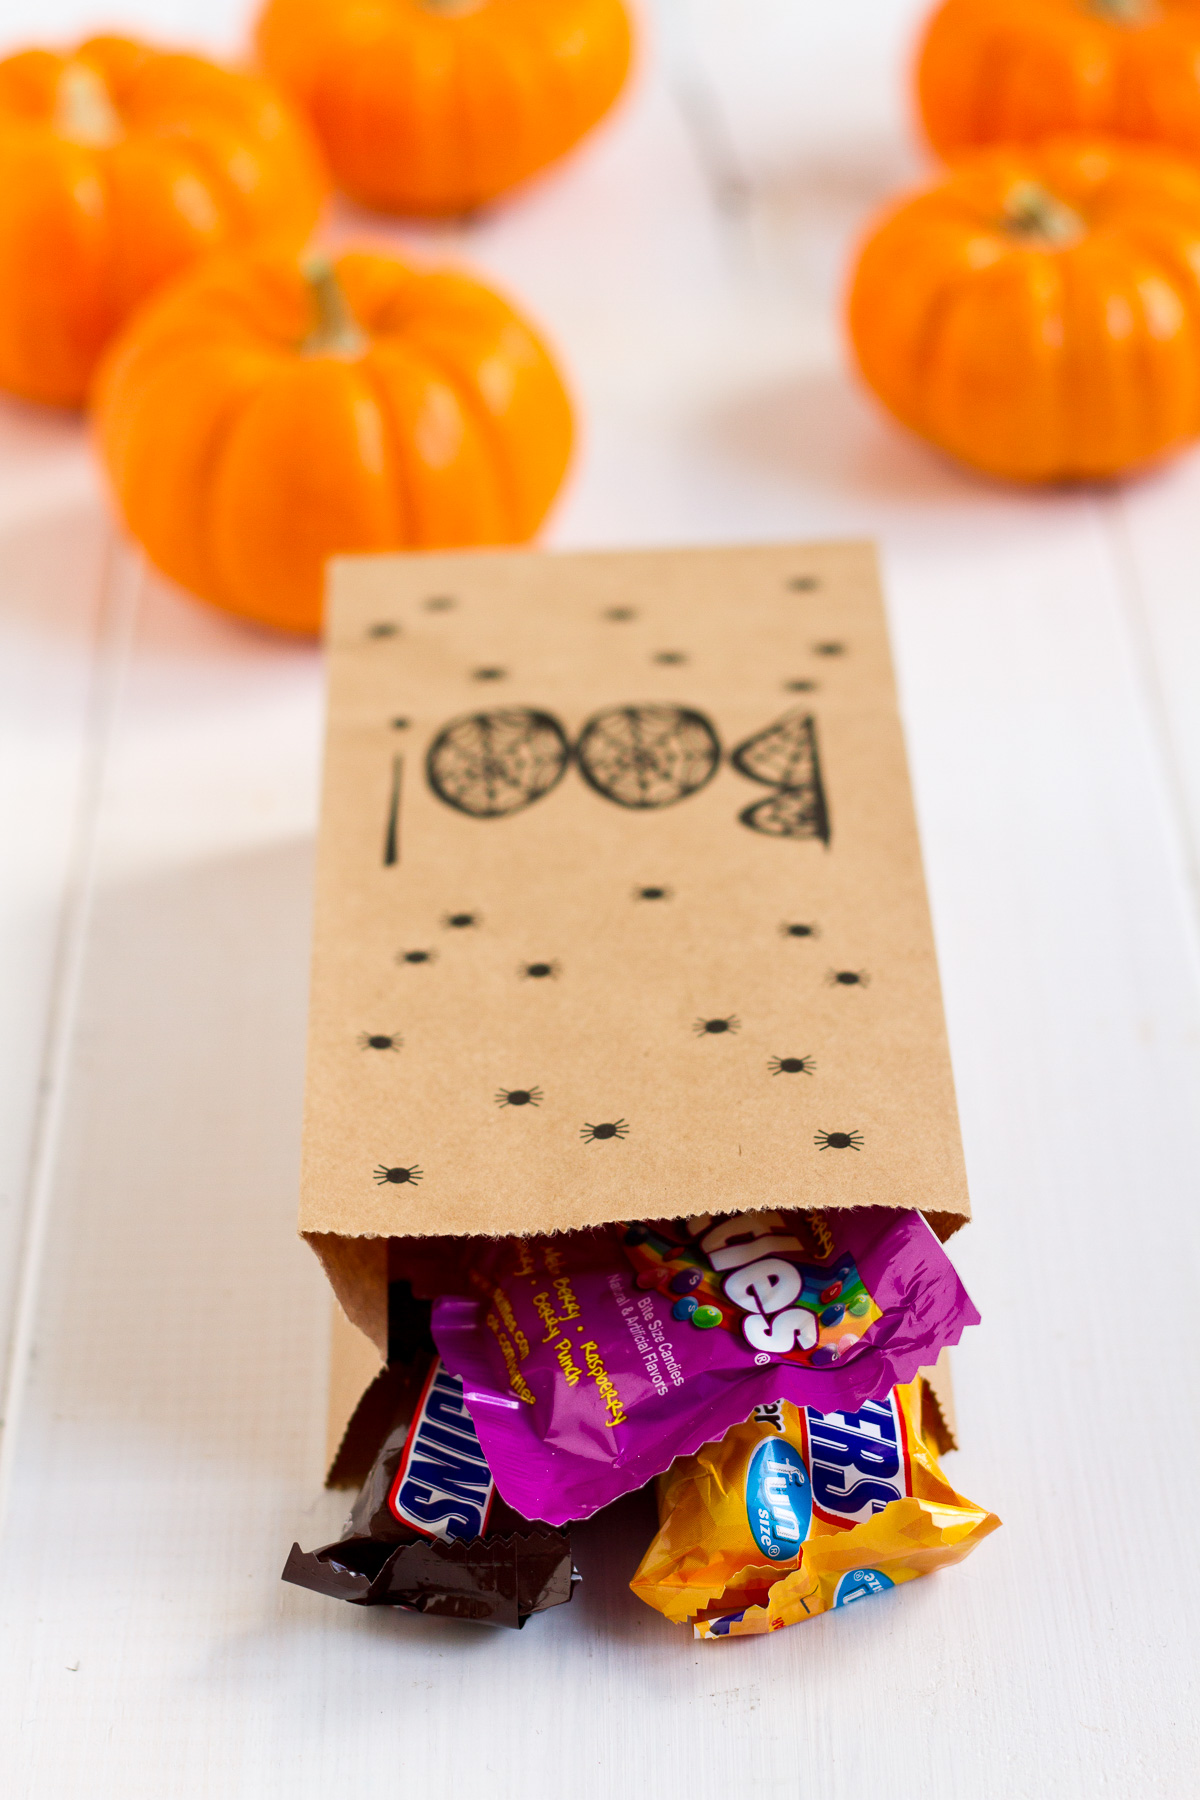
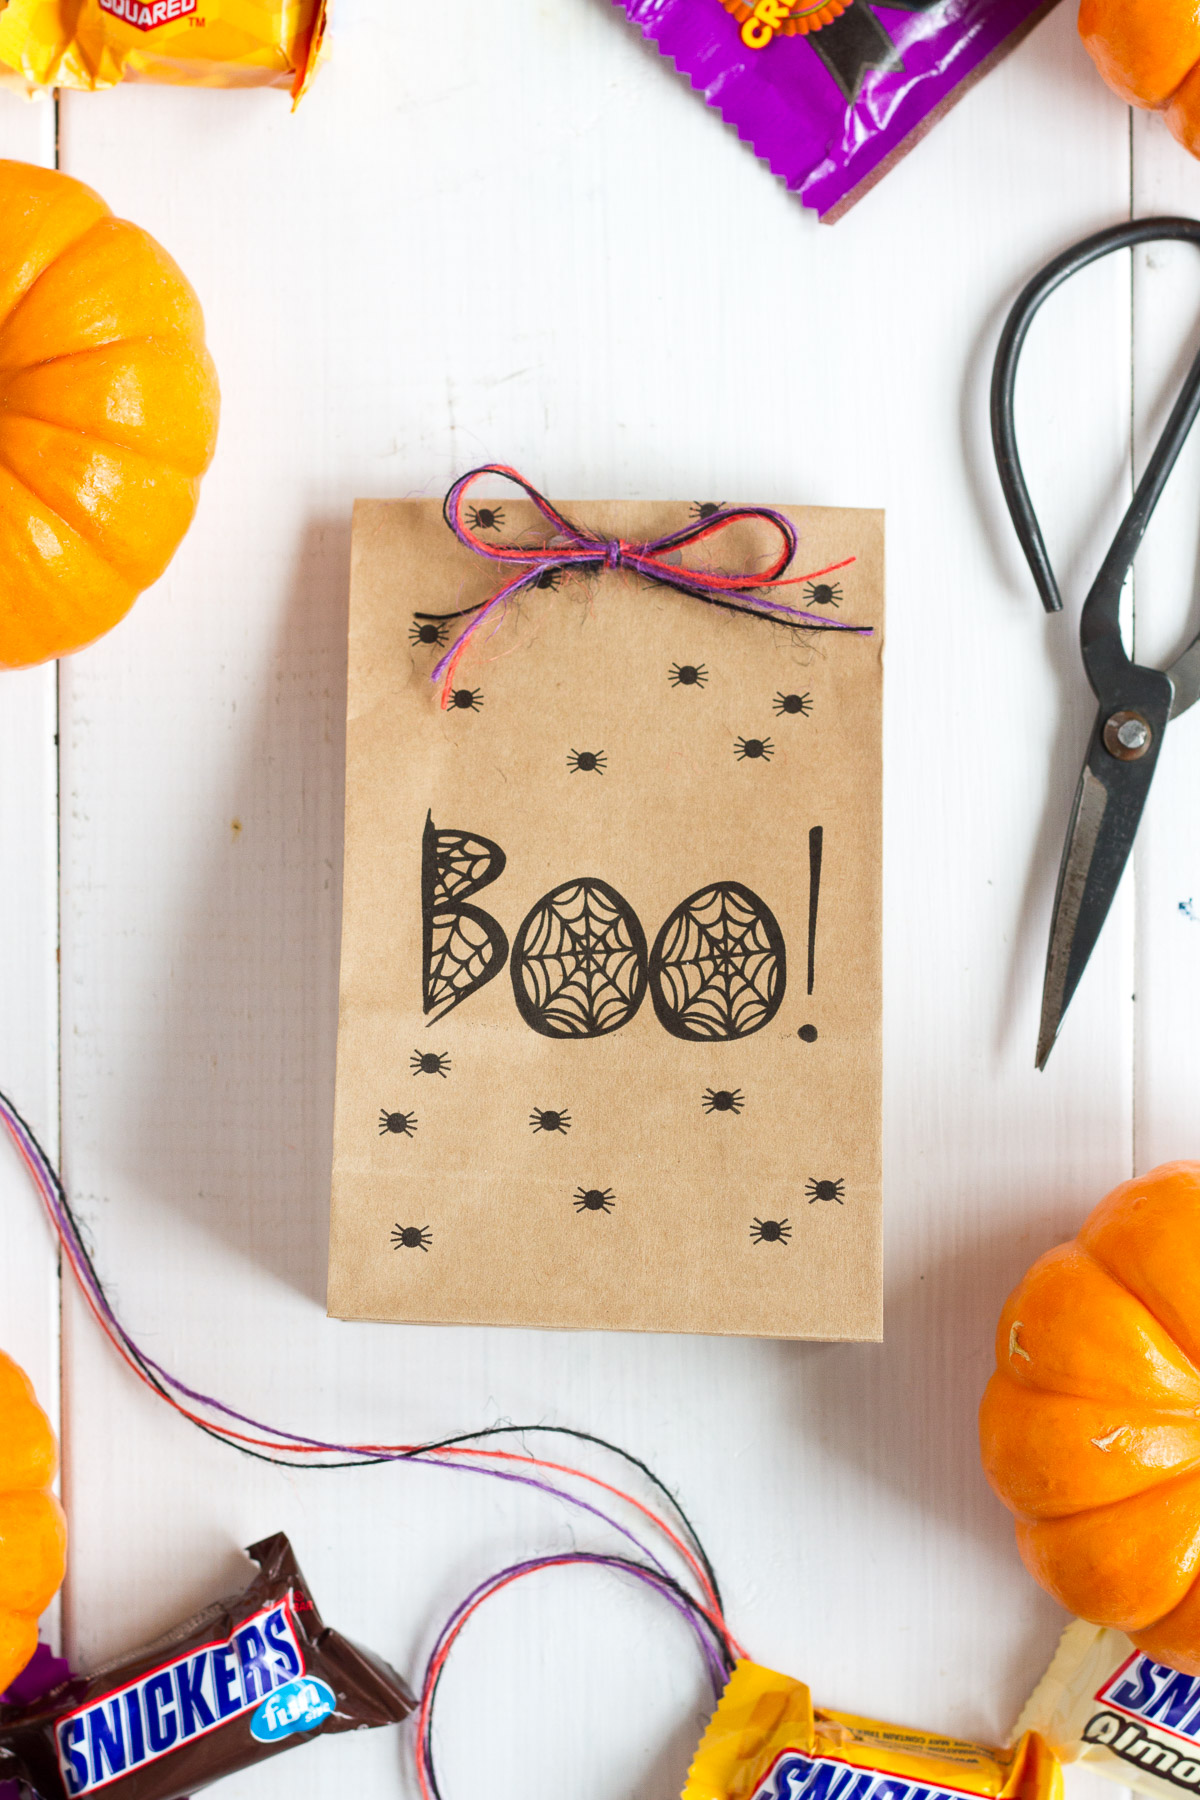
These fun, free printable Halloween treat bags are perfect for filling with your favorite Halloween candies to deliver to neighbors and friends, or for setting out next to the candy buffet at a Halloween party. They are a quick, inexpensive project that looks really fun and festive.
MATERIALS & TOOLS
free printable Halloween treat bag template (find links below)
3.5×6.75″ mini kraft bags (you can buy them at your local craft store or online)
a printer
Halloween candy from Kroger (Snickers, M&M’s, Twix—all the classics!)
hole punch, optional
ribbon, twine, or yarn, optional

STEPS
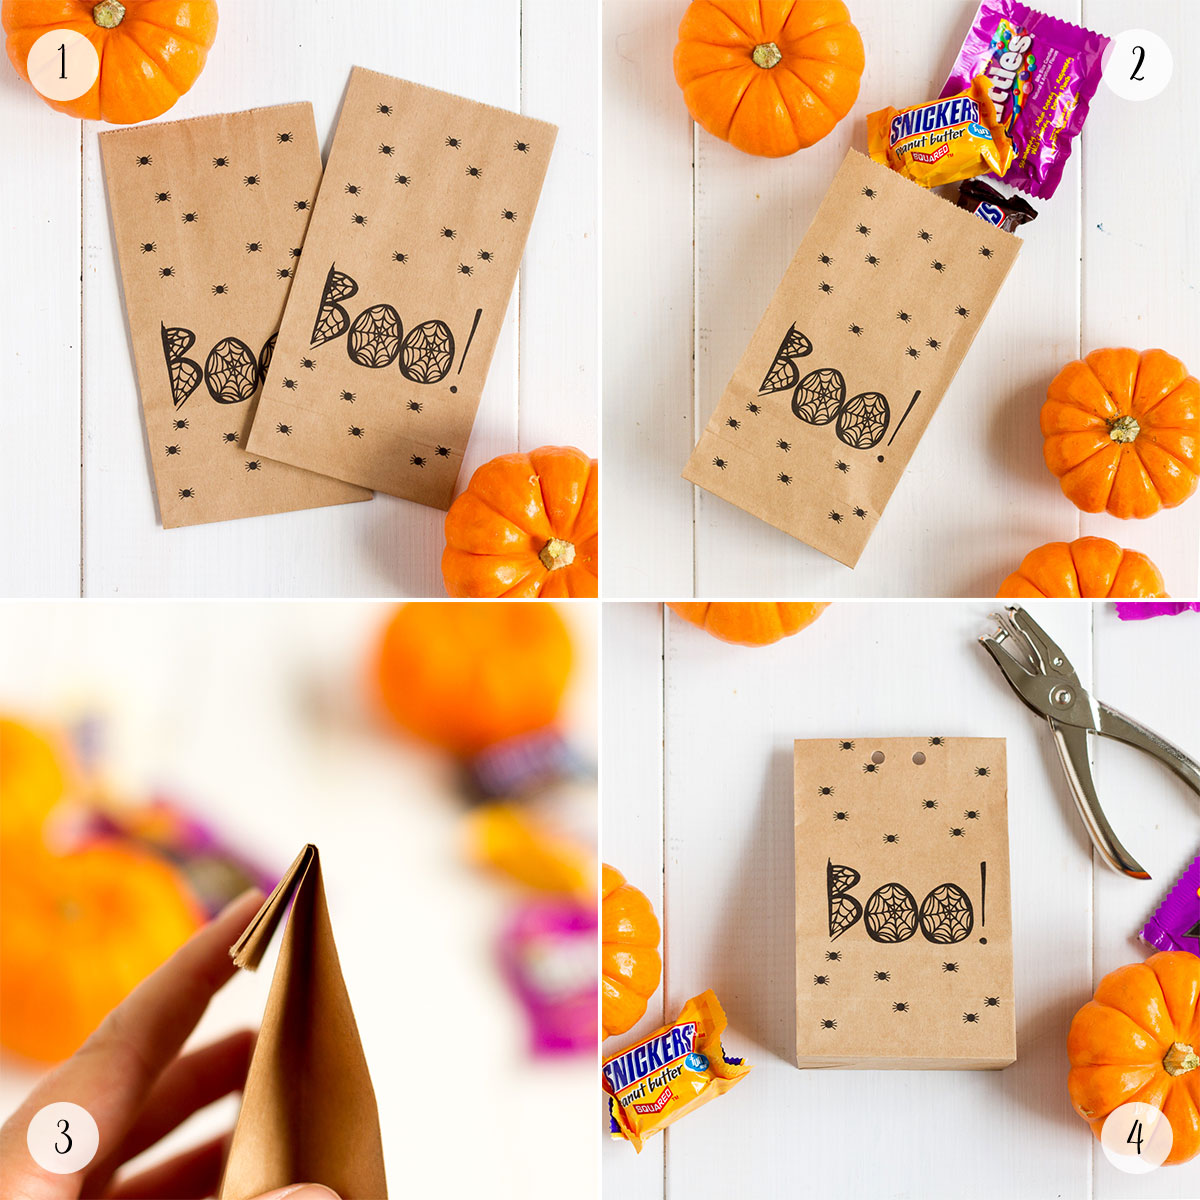
1. Download the free printable Halloween treat bag template. You’ll want to feed the bags into your printer closed-side first so that the edges don’t snag in your printer. Depending on how your printer works, you might need the regular template, which you can download HERE, or the upside-down template, which you can download HERE. I had to use the upside-down version for my bags. You might need to adjust the size of the paper tray on your printer. You might need to feed in and print one bag at a time. When you click “print,” you might need to adjust the paper size in your print window to be 3.5×6.75″; mine automatically assumes everything is 8.5×11″. It will take a small amount of trial and error to figure out how exactly how your printer works, but once you get it down, printing the bags goes really quickly.
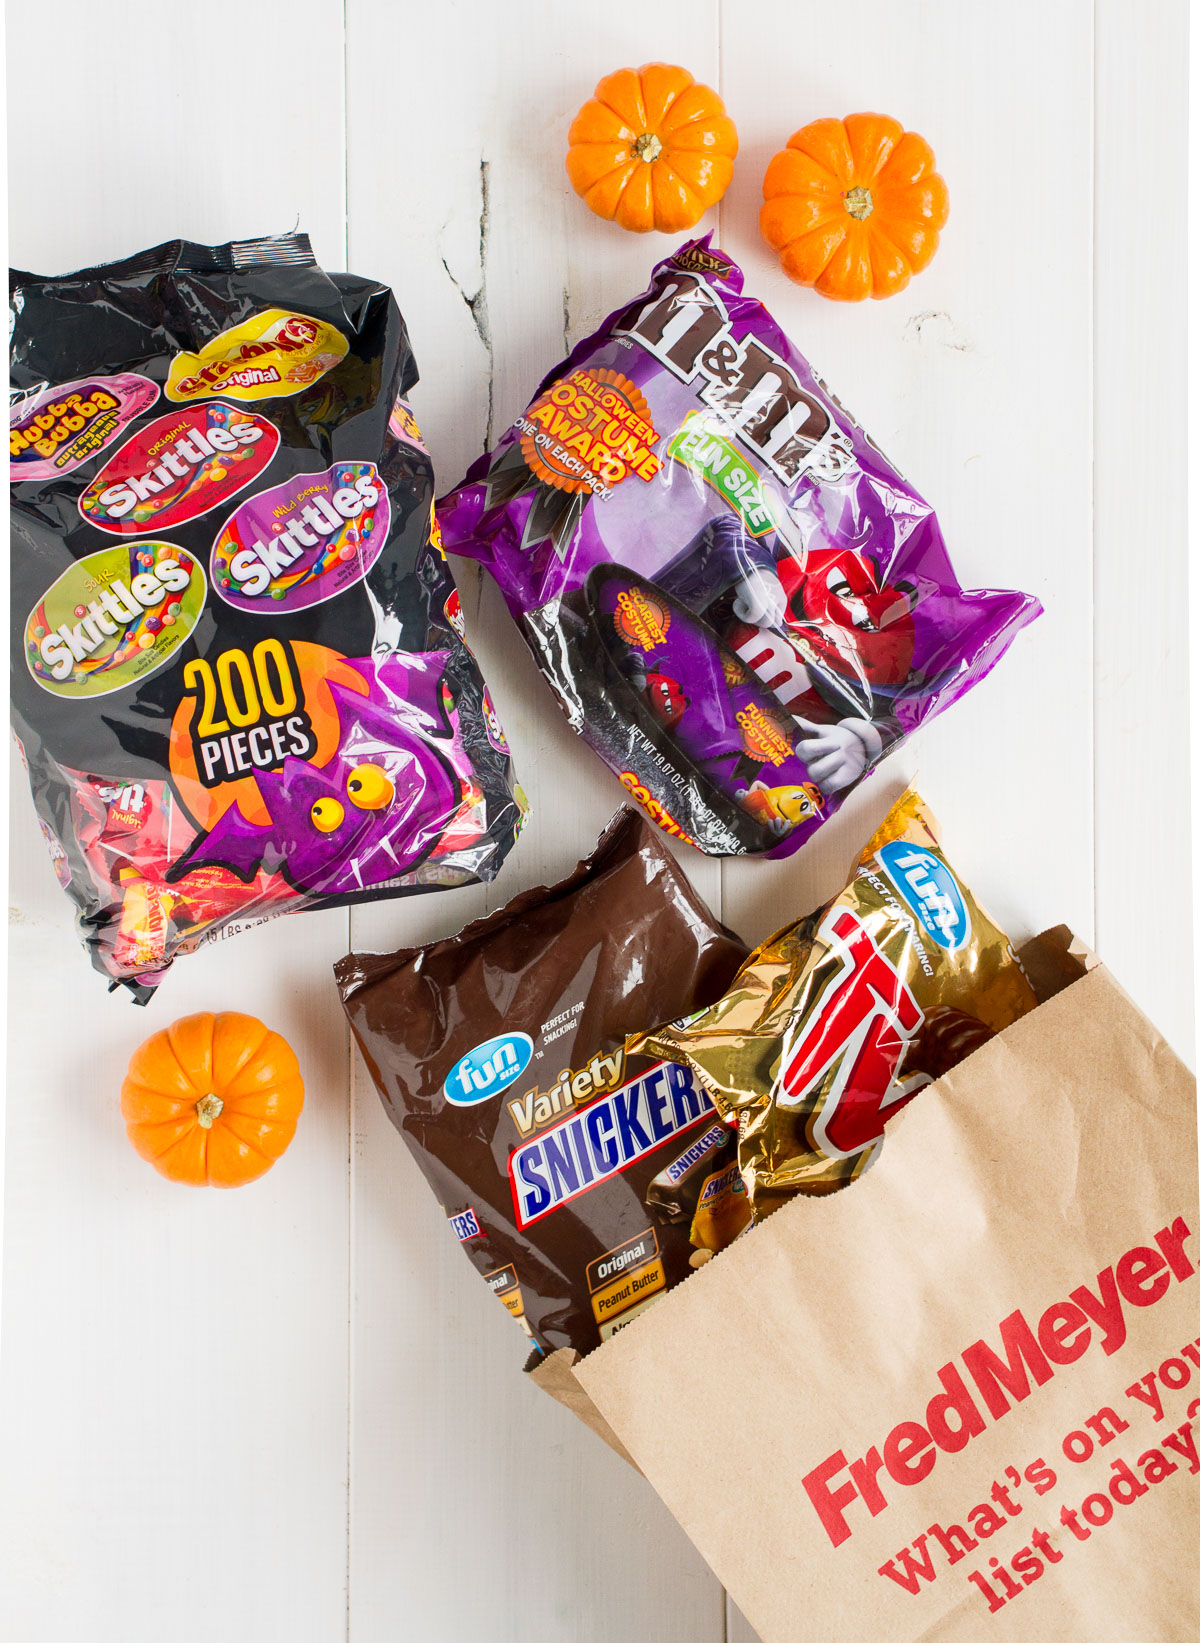
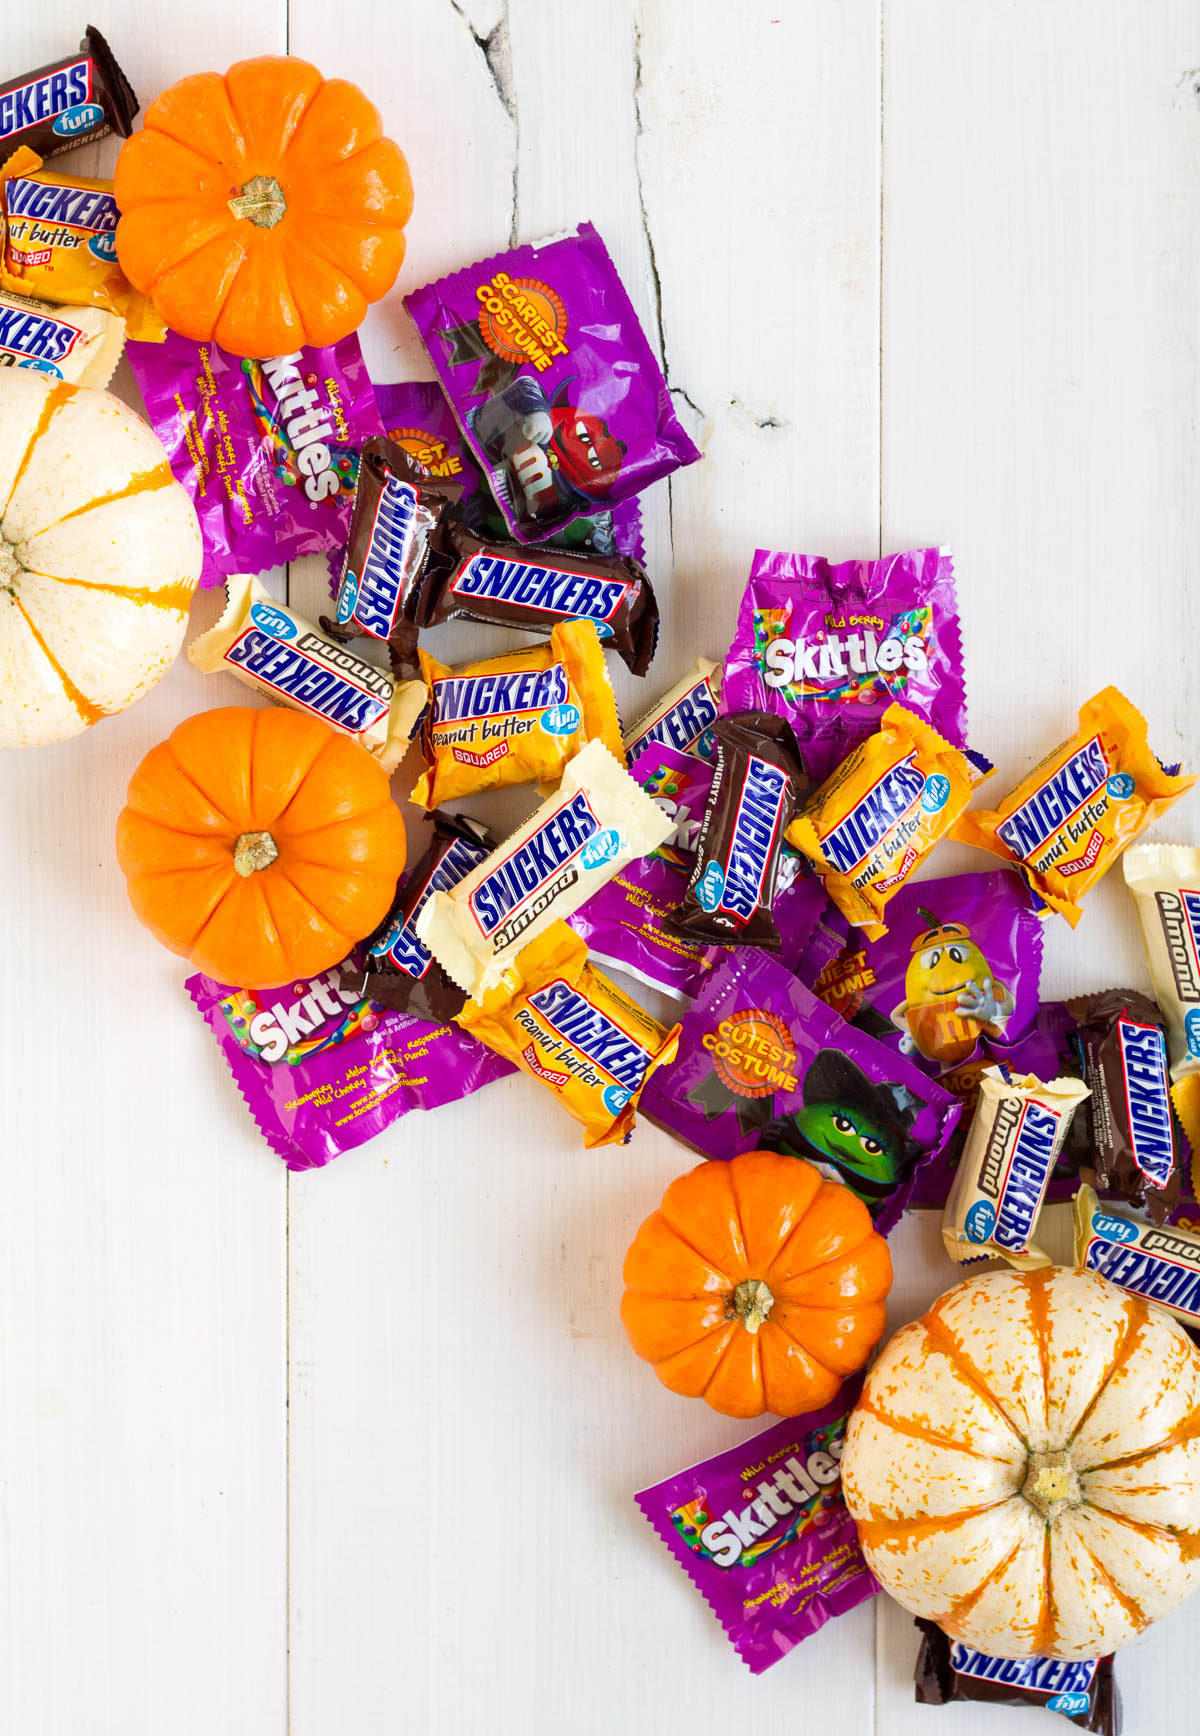
2. Go to the Halloween section of your local Kroger store and stock up on all your Halloween candy favorites. I chose a yummy Snickers Variety Pack (I can’t decide which kind is my favorite!), fun size Twix, milk chocolate M&Ms in cute, fun size, costume contest packaging (purple!), and a Wrigley variety pack with some fruity favorites. Make sure you grab Kroger’s digital coupon for $1 off fun size bags of Snickers, Twix, M&Ms, Milky Way, or 3 Musketeers. It’s only available until 10/28, so stock up now! If you are making bags for a DIY Halloween candy buffet, you are done! Just set out the bags and candy, and let guests fill the bags themselves. If you want to give treat bags filled with candy to your friends and neighbors or hand out already filled bags, go ahead and fill those bags with candy!
3. Fold the top 1″ of the bag toward the back to make the top of the bag look nice and to help keep it closed. Nobody wants their candy falling out!
4. Use a single hole punch to put two holes in the top of the bag, about 1/2″ down from the fold. Make the holes about 1″ apart.
5. Cut lengths of ribbon, twine, or yarn in festive, Halloween colors (purple, orange, block, green, etc.), feed both ends of the ribbon through the holes you punched from back to front, and tie the bag shut with a knot or a bow.



I have always wanted to print goodie bags in my printer! You have inspired me. Thanks for sharing.
It’s so easy! Definitely give it a try.
Oh how cute! I love those little spiders!
Thanks, Marlene! I added those last-minute and love them too!
hi there I love these, but when I try to print it prints to corneer of the bag is it possilbel to get it emailed as a word docuemnt?