Homemade earl grey tea soap is an easy afternoon project thanks to a triple butter melt-and-pour soap base and luscious essential oils. Makes a great gift!
I inherited lots of things from my mom. I inherited her love of gossip magazines and raw bread dough, her penchant for baking, and her ear for alto harmonies.
I also inherited her love of good soap. My mom is a dyed-in-the-wool bath devotee. If you ever need to get her a gift in a pinch, any delicious smelling bath and body product will do: fizzy bath bombs, silky soaks, sudsy bubble baths, and creamy bar soaps.
I’m strictly a shower girl, but I do love luxurious bar soap, especially if it’s handmade. A few years ago, a friend and I dabbled in making soap from scratch. It was really fun to dream up new soap recipes, and the bars we made were fragrant and moisturizing, and much more forgiving on the skin than store bought soaps.
But there were a few down sides. Because of the lye involved, I never felt comfortable making soap while my kids were around. And cold process soap—the kind we were making—takes weeks to cure after it’s been poured. And then my friend moved away, and I didn’t really feel like going through the hassle of making soap all by myself.
But lately, I’ve been wanting to start experimenting with homemade soaps again, and thanks to melt-and-pour bases, making soap is both safe and fast.
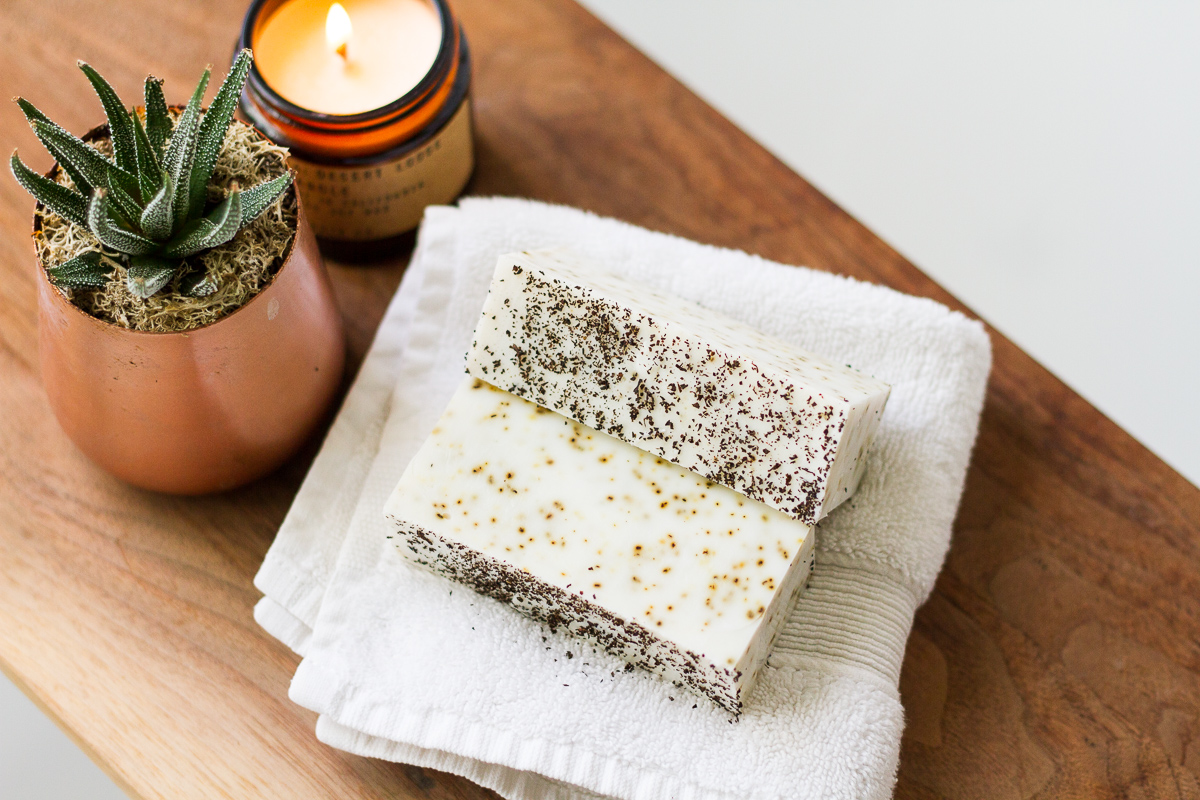
My husband gave me a little gift box full of fancy things for Valentine’s Day, and I fell in love with the earl grey tea soap in it. It smelled heavenly, and I loved the pretty tea speckles in the creamy white bar. The only bad thing about it was how quickly we used it up!
Recreating this bar at home seemed like the perfect way to jump back into making soap. Melt-and-pour soap is only as good as the base you start with, so I picked a pretty luxurious triple butter soap base with Shea Butter, Cocoa Butter, and Mango Butter. I sprinkled some earl grey tea into the melted soap as I stirred it, and added a trio of citrusy essential oils to make it smell amazing: bergamot, which is a key ingredient in earl grey tea, sweet orange, and litsea cubeba.
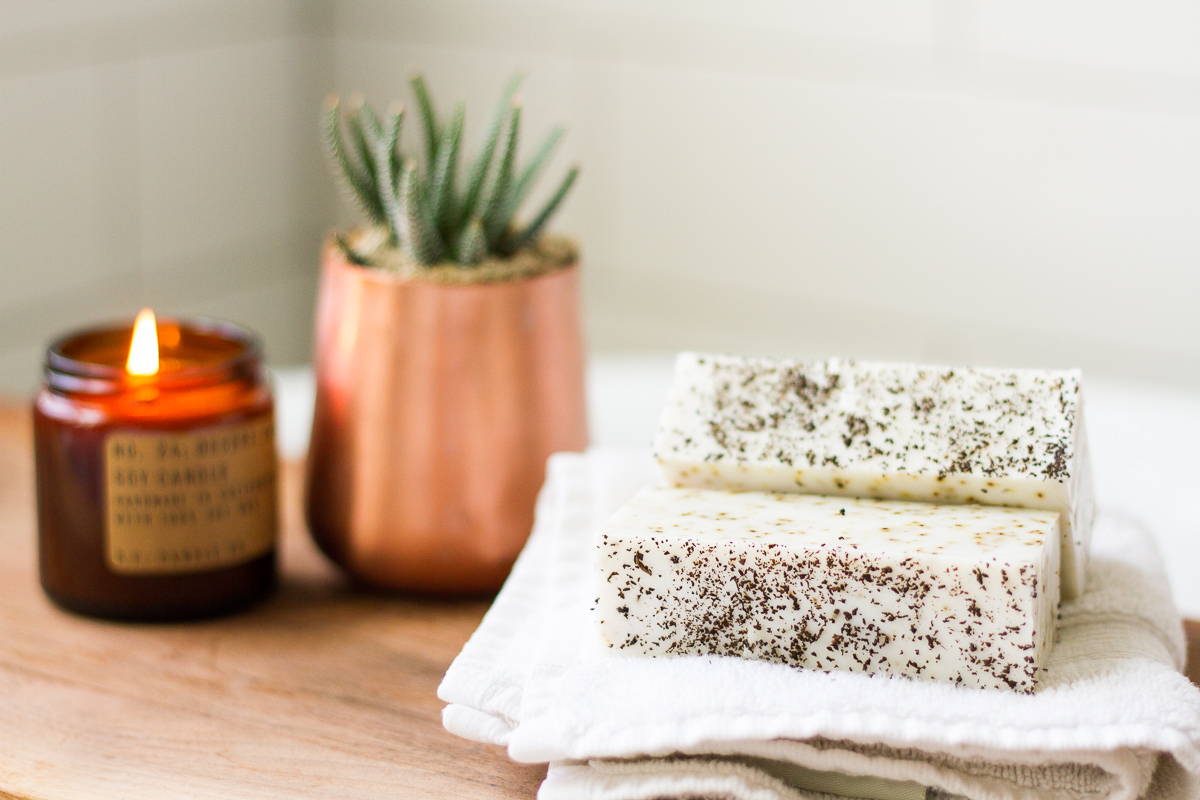
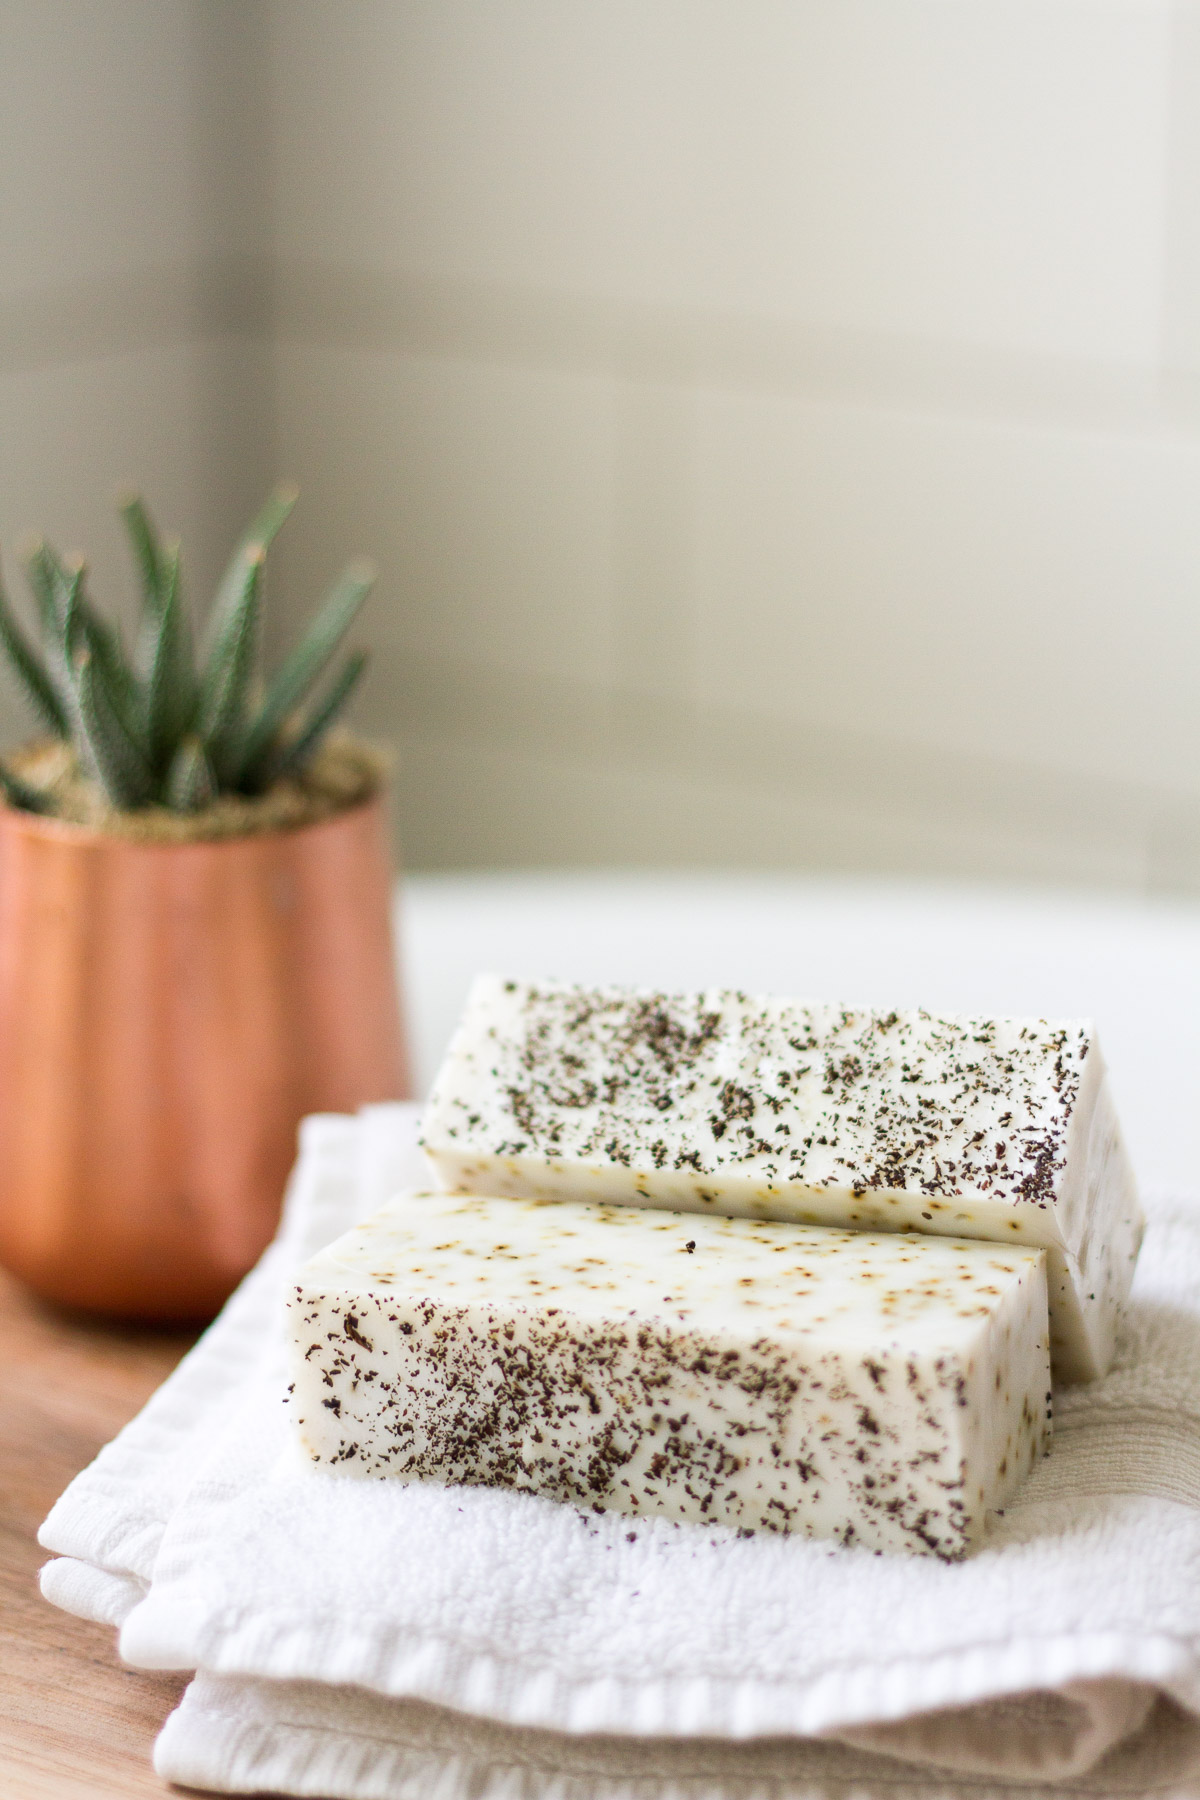
The finished bars are really beautiful! They have a lovely lather and smell heavenly. I’ve already set aside several bars to give to the special ladies in my life for Mother’s Day next week. Make up a batch of earl grey tea soap this weekend, and you can do the same!
**This post contains affiliate links. You can read more about them on our policies page.**
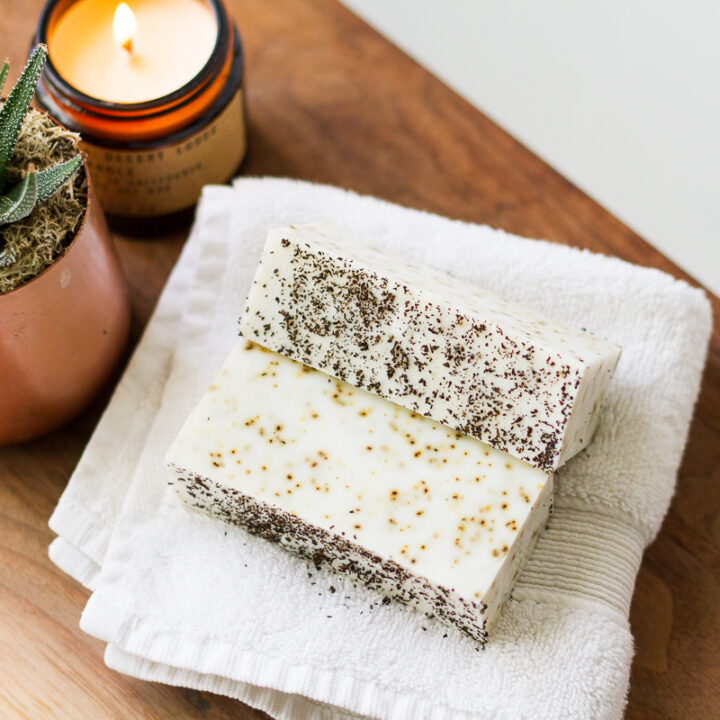
Earl Grey Tea Soap
Homemade earl grey tea soap is an easy afternoon project thanks to a triple butter melt-and-pour soap base and luscious essential oils. Makes a great gift!
Materials
- 2-lb soap mold (I bought mine at Michael's)
- 2 lbs melt-and-pour soap base (I used a triple butter base by Stephenson)
- cutting board
- sharp knife
- large microwave-safe bowl or measuring cup
- something to stir with (I used a wooden chopstick)
- 1 teaspoon bergamot essential oil
- 1/2 teaspoon sweet orange essential oil
- 1/2 teaspoon litsea cubeba essential oil
- 2 tea bags earl grey tea
- rubber spatula
- plastic wrap
Instructions
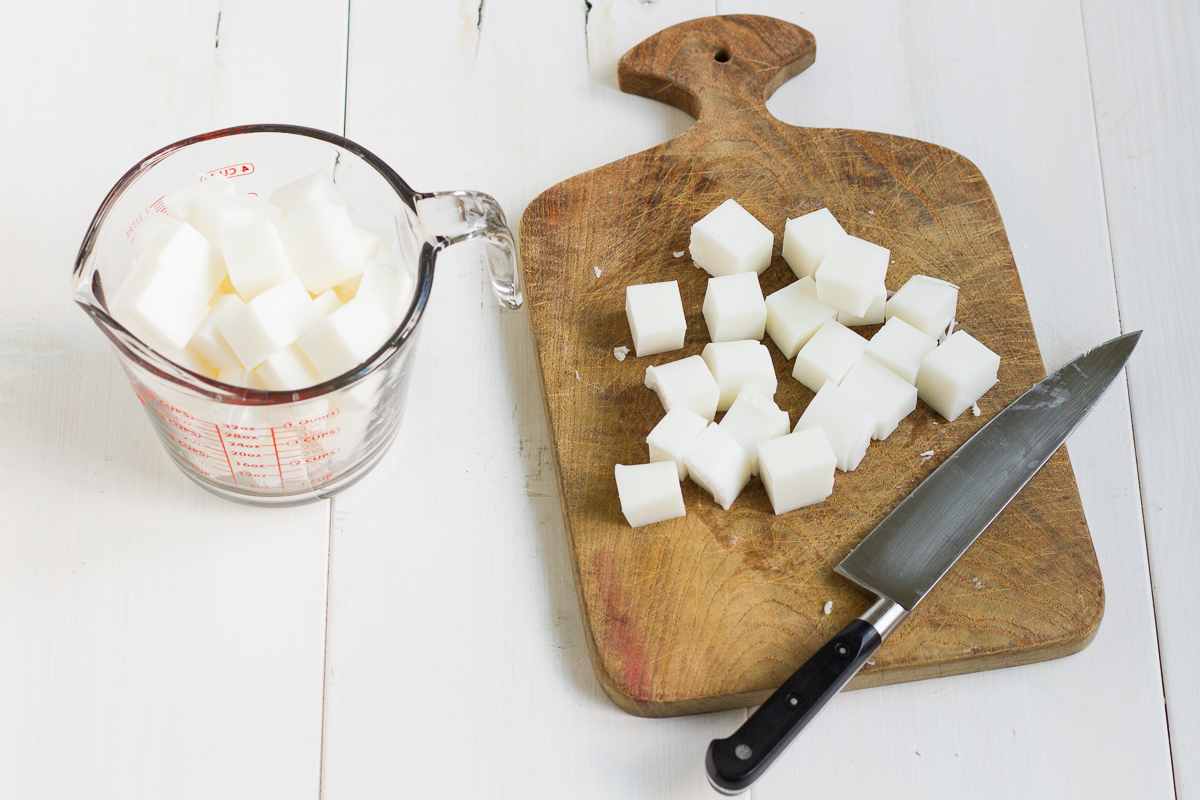
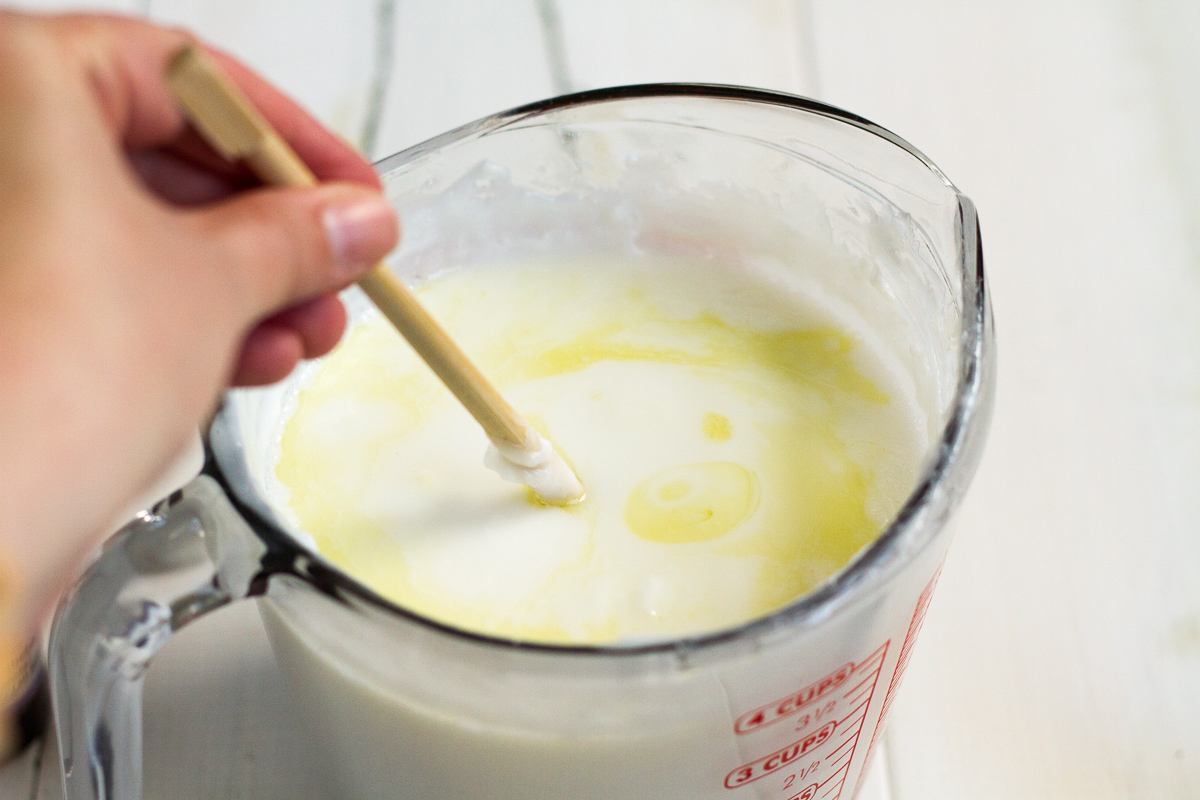
- Chop up the soap base into 1" cubes and put them in the large bowl. Melt the soap by microwaving it on 50% power for 30 seconds at a time, stirring after each interval.
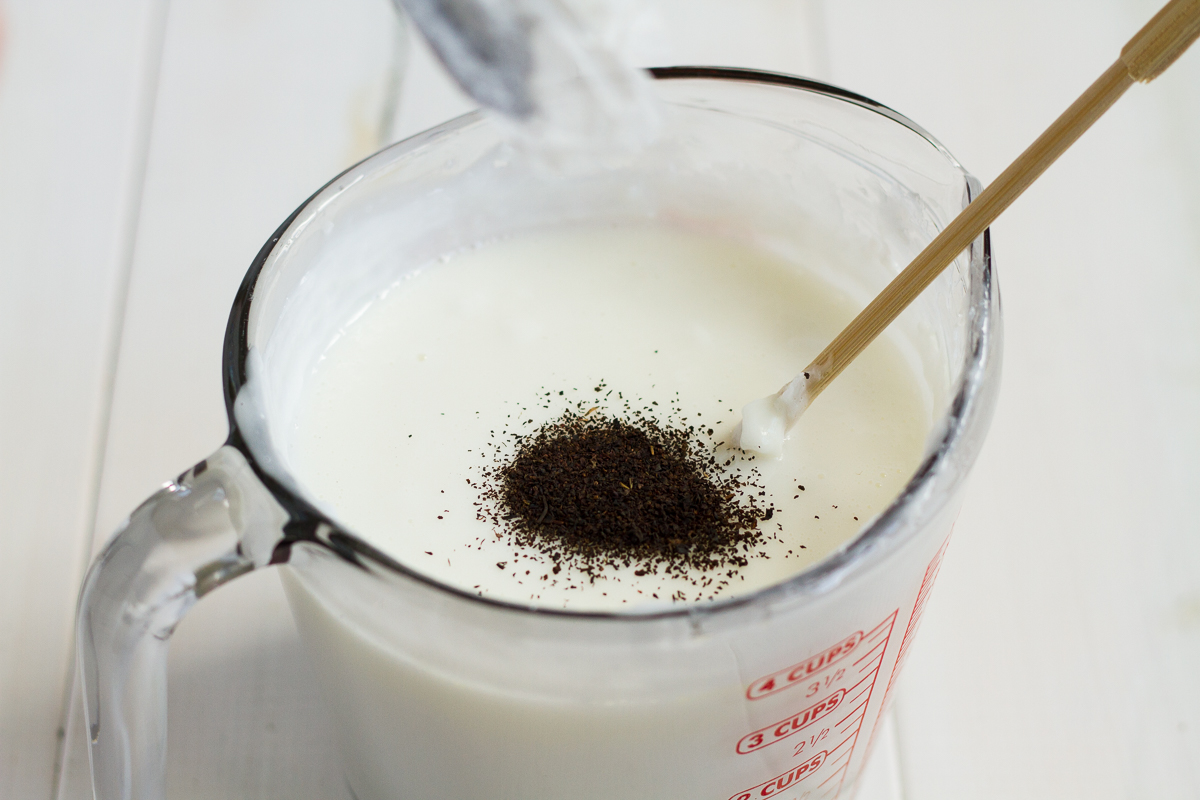
- When the soap is completely melted and has no lumps in it, add the essential oils. Stir until completely incorporated. Add one tea bag of earl grey tea, and stir again until evenly distributed.
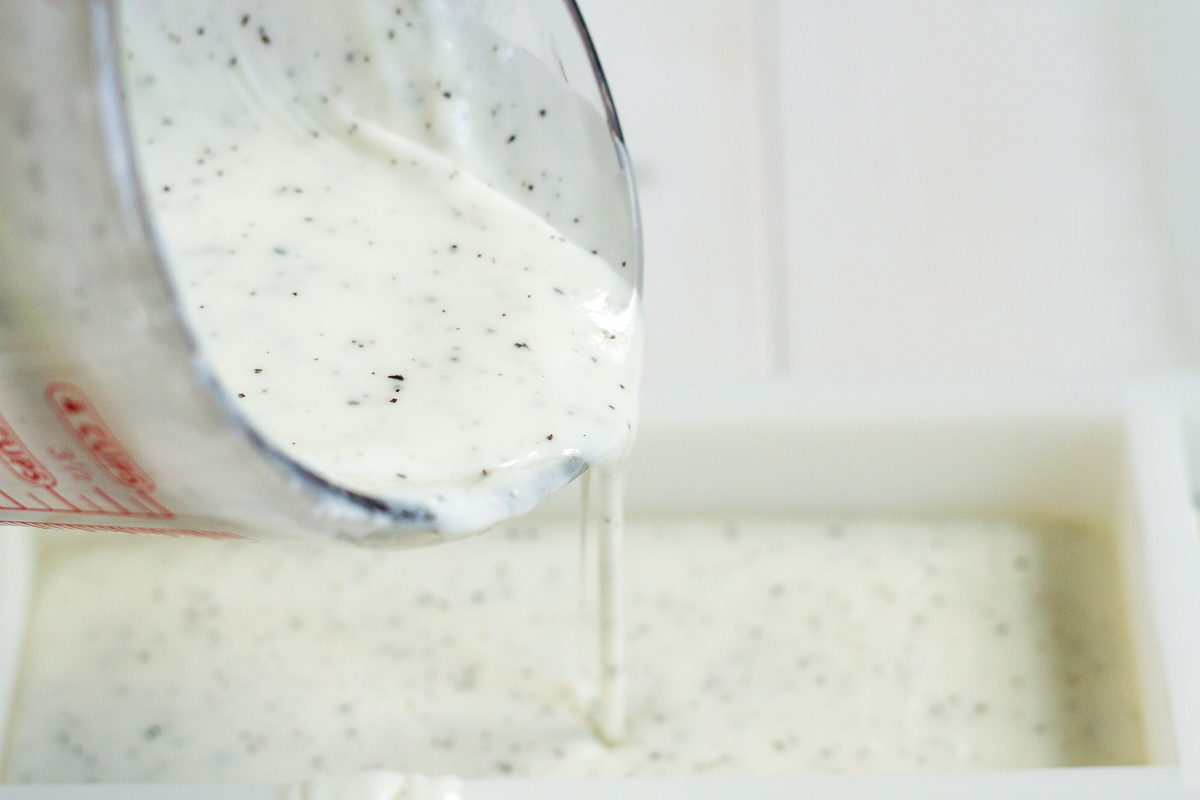
- Pour the soap into the mold, using the rubber spatula to make sure you get all the soap out of the bowl.
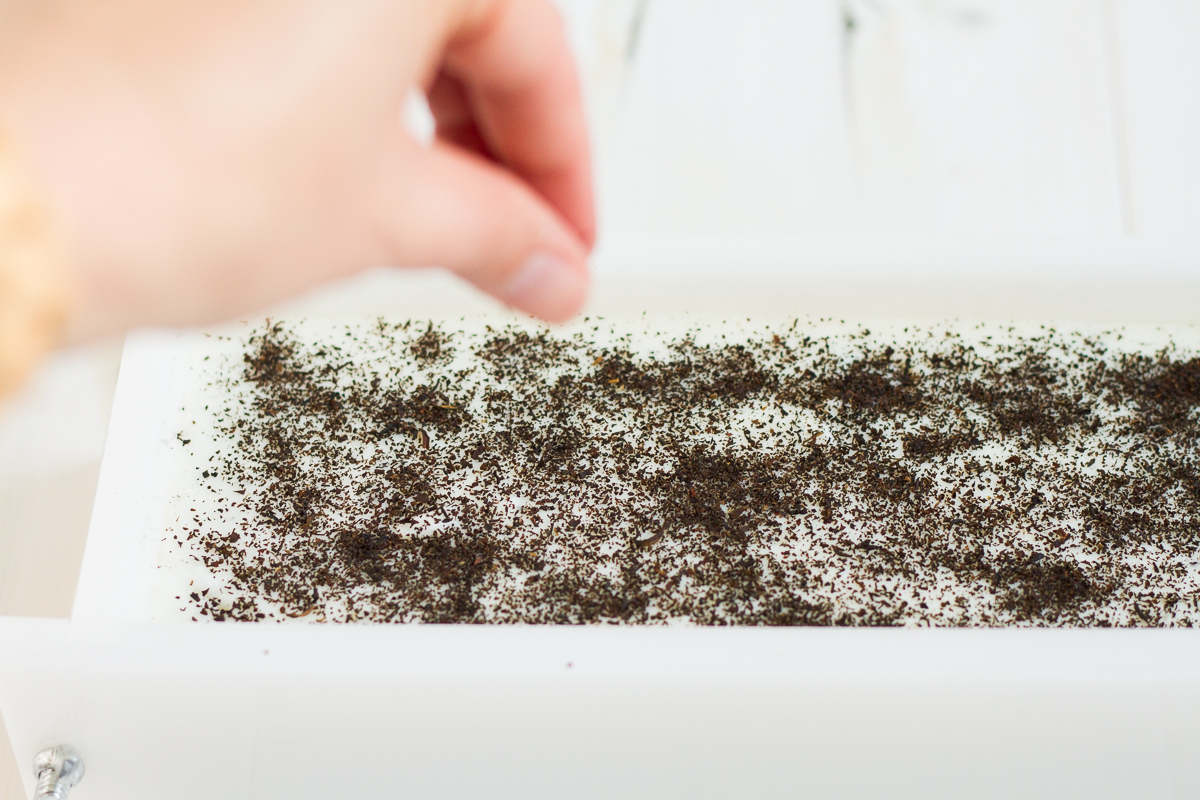
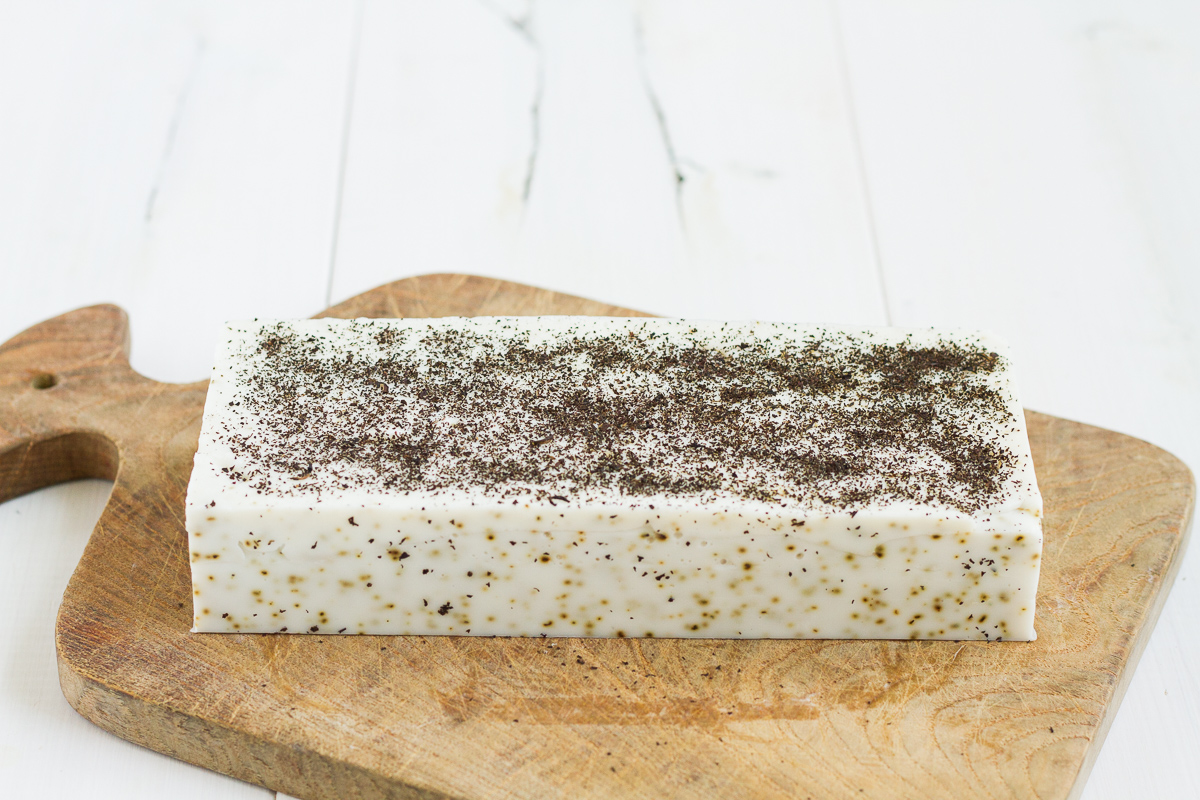
- Immediately sprinkle the remaining earl grey tea evenly over the top of the soap.
- Allow the soap to set up until completely cool. I waited overnight before unmolding mine. When your soap is completely cool and set up, remove it from the mold.
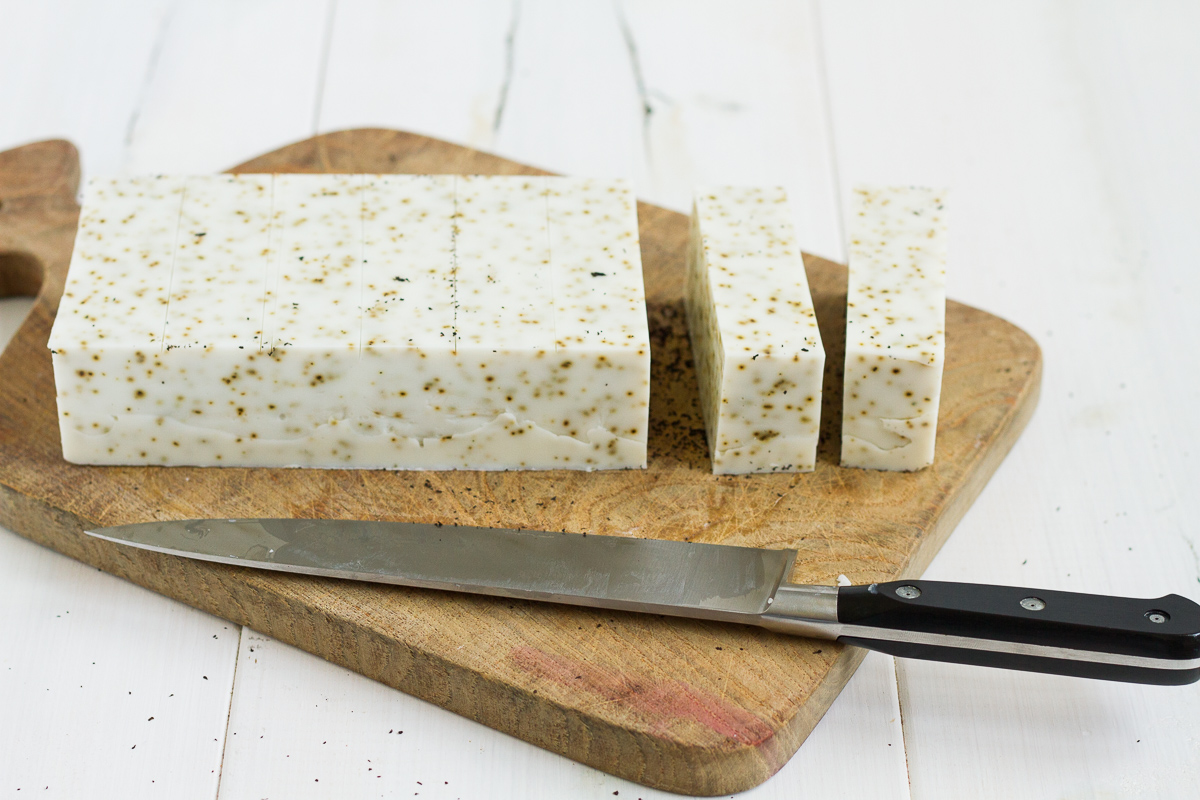
- Gently set the soap upside-down on the cutting board. Use the knife to lightly score the loaf into 8 equal bars. When you've made sure your marks are evenly spaced, cut the loaf into 8 equal bars of soap.
- Wrap any bars of soap that you won't be using immediately tightly in plastic wrap.
- Clean up should be a breeze. Just use plenty of hot water.
Notes
A tip: Don't make soap in a cold room. Your soap will start to set up before you want it to.

Beautiful and inspiring! I never make it by myself either, even though I keep telling myself it isn’t HARD. It just wouldn’t be as fun as it was all those times with you. Wish I could read your blog on smell-o-vision–this looks amazing!
Miss you lots, Marcelle! I was thinking of making a batch of salty dog soap next for old times’ sake!
Seems like a beginner lije me could handle. You did a great job of explaining the steps clearly.
Thanks, Greta. It is a pretty easy project!
Thank you for sharing this! I used your recipe and directions to make a “London Fog” soap, using bergamot, lavender and vanilla oils. Thank you!
That sounds like a fun variation! Maybe I’ll make a London Fog batch next!